
SAND LIKE A PRO
Sanding may be tedious, but mastering it is the difference between a flawless finish and a disappointing project. With the right grits, techniques, and tools, you can get perfectly smooth surfaces every time—without the swirls, pigtails, or frustration.
Sanding sucks. Nobody I know enjoys it. But you know what's worse than sanding? Spending a month building a project, fussing over a beautiful finish, moving it into the house, and then—when the light hits the top—it looks like crap because you didn't sand properly.
Maybe you missed a spot, the flat surfaces aren’t level and smooth, you have little pig-tails or swirls in the surface, the corners or edges are rounded over, or you spent all your time getting the most visible areas nice and smooth but neglected other parts—like just under the edge of a tabletop, which people may not notice much but will definitely touch.

Pigtails, or swirls, on the surface of a project from sanding.
Sanding can make or break your project, as much as the joinery or the finish. And there’s a lot to learn if you want to get the best results. This post will cover everything you need to know—from what grits to use, to improving your technique—along with a few things that other videos and articles neglect to tell you. Stick with me until the end—you’re definitely going to learn something new!
The Basics: Sandpaper Types
Let’s start with the sandpaper itself. Generally, sandpaper can be broken down into four types: Garnet, aluminum oxide, silicon carbide, and zirconium.
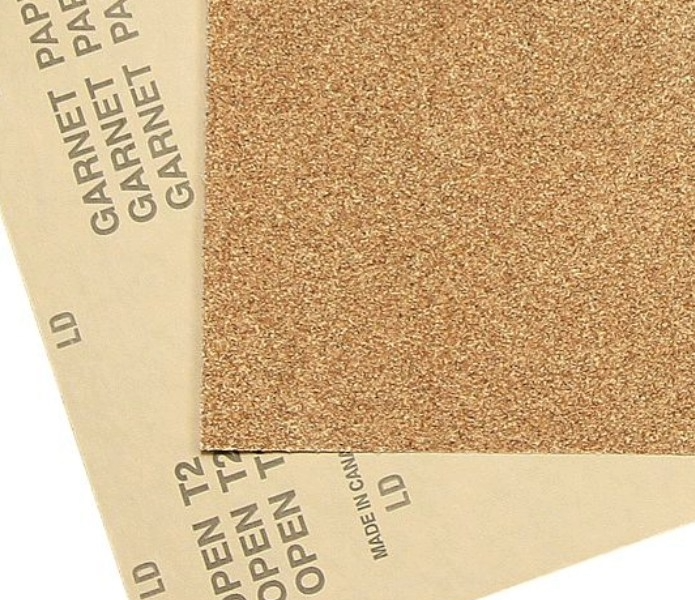
Garnet Sandpaper: This is the least expensive option. It's effective for hand sanding but wears out quickly, so I wouldn’t recommend it for power sanding. Pay attention to the quality of the paper itself—many cheap garnet sheets are so thin they tear easily.
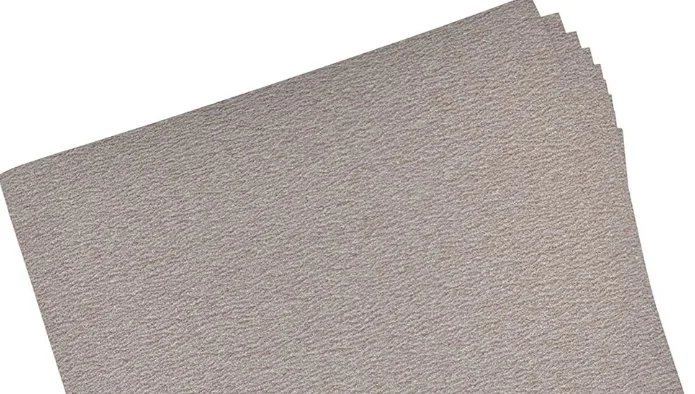
Aluminum Oxide: More durable than garnet, aluminum oxide is commonly used to sharpen tool steel and is the most common material for premium woodworking sandpapers. It’s worth the extra cost.
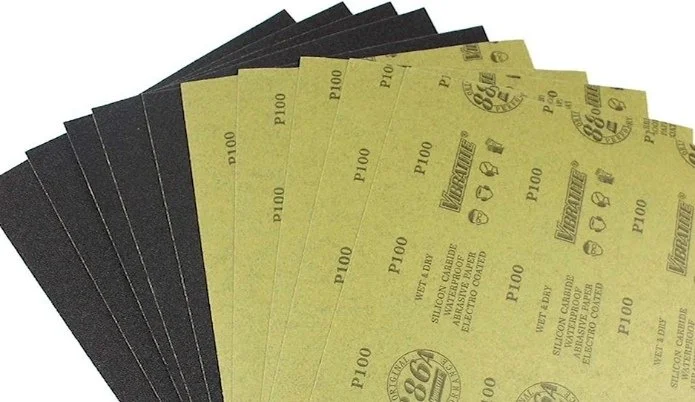
Silicon Carbide: This type is durable like aluminum oxide but more brittle, meaning the particles fracture to expose new, sharp edges. It’s commonly used in metalworking, but you’ll usually find it on cloth-backed belts and discs for stationary machines. Sanding sheets above 400 grit are often made from silicon carbide, as they’re marketed for auto-body work.
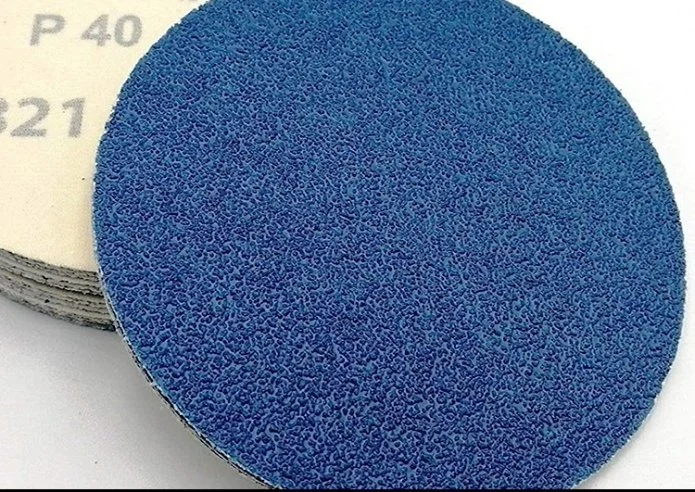
Zirconium Sandpaper: This type fractures differently than silicon carbide, exposing more sharp edges—sometimes called "self-sharpening." But it requires a lot of pressure for that fracture to happen effectively, which is why it’s primarily used for metalworking. However, you can sometimes find it blended with aluminum oxide for woodworking sandpapers.
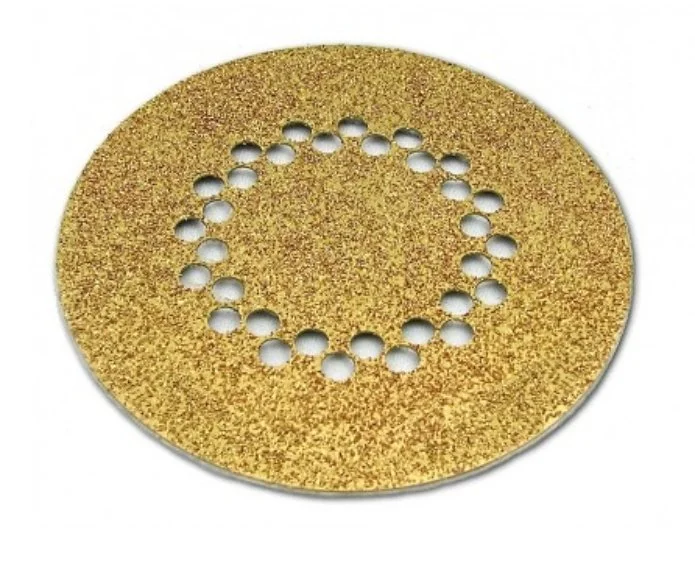
Another option is a carbide sanding disc made by a company called Duragrit. These come in a few lower grit sizes and are fantastic for leveling and shaping because they’re aggressive. They last much longer than many sandpaper discs. In fact, I’ve nearly replaced my coarse paper discs with reusable carbide discs, and I'll link to them below.
Open-Coat vs Stearrated
When shopping for sandpaper, you’ll often see terms like "open-coat" and "stearrated." Open-coat paper has more room between grit particles for dust to collect, preventing clogging. Stearrated paper has a coating to stop resins and other things from gumming it up. Both are useful for woodworking, but manufacturers don’t always use these terms consistently, so it’s not always worth looking for them.
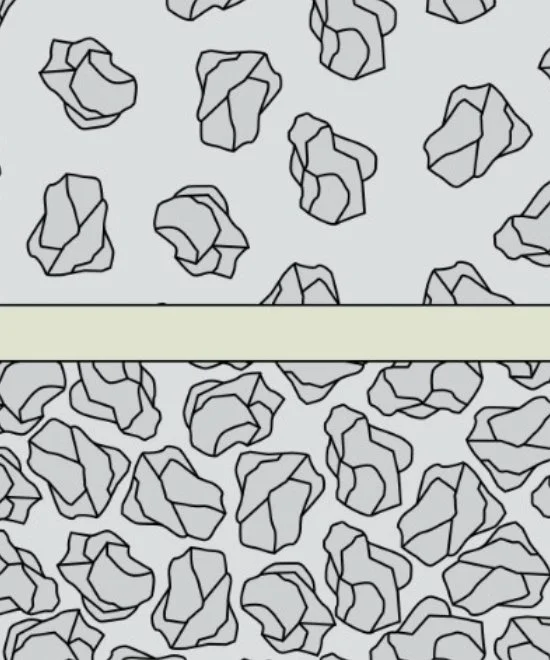
Open-coat vs Closed-cost (picture taken from Woodsmith Magazine.)
My advice? Avoid the cheapest paper on the market. Quality paper made from durable materials lasts longer and gives better results. Always read the instructions and ensure it’s designed for wood use. If it is, it's most likely open-coat.
Understanding Grits
You can shape wood with coarse sandpaper, just like with a file or rasp—this is where those aggressive carbide discs come in handy. But for most woodworking projects, I start with 80 grit. It’s coarse enough to even out a seam on a less-than-perfect joint or remove ripples and other marks left behind by milling machines. But, 80 grit scratches aren’t so deep that it will take forever to remove them with finer grits later.
Here’s the key with sanding: each grit removes the scratches left by the previous grit. So, don’t skip grits too quickly. You may think you're saving money by buying only two grits of sandpaper, but in reality, you’re not.
80 grit removes material quickly but leaves moderately deep scratches. To get rid of those scratches, you need to wear down the surface to the bottom of the 80-grit scratches.

Scratches (left to right): 80 grit vs 120 grit vs 180 grit
The finer the paper, the shallower the scratches it will create. If you skip too many grits, the scratches left behind by the finer papers may be too shallow to remove, making the process take longer and wearing out more sandpaper. Working through the grits properly will make the whole process faster, more efficient, and even cheaper.
As a rule, never jump the grit more than 50 percent. For example, after 80-grit, move up to no higher than 120, then 180, and so on—jumping no more than 50%.
Knowing When to Move Up a Grit
You need to remove the entire surface to the depth of the previous grit. Here’s a trick to monitor your progress and ensure you're sanding evenly:
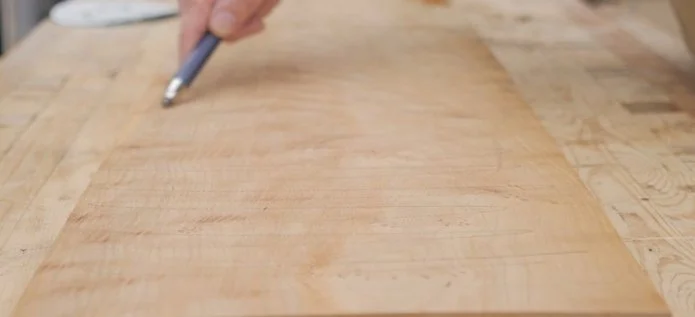
Cover the surface with pencil lines: Use medium pressure, not too much. Sand evenly across the whole surface, making sure to use long, smooth strokes.
Check for pencil lines: The board likely isn’t perfectly flat, so you’ll find pencil lines in some low spots. Don’t push harder on those spots to remove the lines—that will only create more unevenness. Instead, reapply pencil lines and continue sanding with even strokes.
The goal is to lower the entire surface down to those dips and valleys, so everything is nice and flat. This process is especially critical on tabletops or other highly visible surfaces.
Once you’ve removed all the pencil lines with even strokes, you’re ready to move on to the next grit. But, before switching, clean off the board to avoid cross-contamination. If any 80-grit particles are left on the surface, they may get caught in the finer grit and cause deep scratches. It’s always a good idea to brush or blow off the surface before changing grits.
Moving Through Grits
80 is good for the initial flattening. The next level is 120, and the process will be much easier. But I still cover the surface with pencil lines, again using medium pressure, to help me judge my progress. By the time these pencil lines are gone I’m ready for another grit.
How high should you go with your grits? That depends on the finish you’ll use. Deeper scratches from lower grits will show up more in stains or dyes. If you want more color, stop at 150 grit; for less, go to 180 instead of 150.
For film finishes like polyurethane or wiping varnishes, 180 is perfect because it’s coarse enough for the finish to fill in the scratches. For penetrating finishes like oils, go to 220 or 240 for a smooth surface.
You’ll also sand between coats of finish, using finer grits (like 320 or 600) to smooth imperfections, such as dust nibs, without removing too much of the finish.
Raising the Grain
Some woodworkers like to raise the grain before finishing. This involves applying a thin coat of water to swell the wood fibers. When the water dries, the fibers will remain slightly raised above the surface, which helps ensure the finish doesn’t swell them back up. You can then lightly sand them down before applying the final finish.
Raising the grain isn’t essential for everyone, but I recommend it, especially if you plan to apply a water-based finish. Do it just before you use your final grit before finishing.
Sanding End Grain
Some woodworkers sand end grain to a finer grit than long-grain surfaces. For example, on a table or cabinet top, you might sand the end grain to 320 grit while sanding the long grain to 220 grit. This helps reduce the darker appearance of the end grain, as it absorbs more finish. By sanding it finer, you burnish the fibers and make them absorb less finish, leading to a more even color.
Improving Sanding Technique
If you use a random orbit sander, you’re probably already familiar with how effective it is when used correctly. However, many people don’t use it properly.
Don’t press too hard: While it may seem like pushing down will make the sander work harder, it actually causes heat buildup, wearing out the sanding pad and causing your paper to wear out faster. Over-pressing can also cause grit particles to gather under the disc, forming hard lumps that leave pig-tail scratches.
Watch for spinning: If your sander stops spinning correctly, you’re pressing too hard. The random orbit sander should spin and oscillate to randomize the scratch pattern. If you push too hard, it can make the sander vibrate instead.
Good dust collection: Don’t rely on the built-in dust collection from the sander. You need a vacuum or dust extractor for active extraction. It’s not only healthier, but it also prevents dust from collecting beneath the sander and causing swirl marks.
Hand sanding for the final grit: For the final grit, hand sanding is key. Moving with the grain ensures you get rid of the last of the swirl marks left by the power sander.
Sanding Plywood
Keep in mind that plywood is different from solid wood. Plywood has a thin veneer on top, so be careful not to sand through it. I don’t use anything coarser than 180 grit on veneered plywood and always take care not to damage the surface.
You can’t level a plywood surface like solid wood. If you try, you may sand through the veneer. Just a quick sanding with 180 or 220 grit is usually enough.
Conclusion
Sanding is one of those necessary evils, but with the right technique, the process can be far less frustrating and far more rewarding. The tips in this post should help you improve your sanding game for your next project. Happy sanding!
60-80 (carbide discs for leveling/shaping)
80-120-150 (When applying a lot of stain)
80-120-180 (When applying a little stain)
80-120-180 (When applying polyurethane or built-up film finishes)
80-120-180-220/240 (When applying natural oils)
https://duragrit.com/carbide-sanding-discs-blades/ Save 10% when you use the code STUMPYNUBS at checkout.
Need some cool tools for your shop? Browse my Amazon Store for inspiration.
(These are affiliate links. If you make a purchase, I may receive a small commission.)