
JOINERY LESSONS FROM THE DOUBLE BRIDLE JOINT
The double bridle joint is a great way to practice precise, repeatable joinery on the table saw, and it teaches you how to sneak up on a perfect fit instead of relying solely on pencil lines. With a simple tenon jig and the right blade, you can create a strong, attractive joint that’s customizable and clean.
I made a tutorial about cutting a double bridle joint a few years ago on Youtube, but because this is a great joint that teaches some important lessons about table saw joinery, I want to revisit it again.
Laying Out the Joint
I begin by laying out my joint on the ends of the workpiece. Sometimes I use tape so I can see my lines better, especially on darker wood. I also like to color in the waste areas so I’m not confused while cutting. These fingers won’t go back on if you cut one off at the table saw.
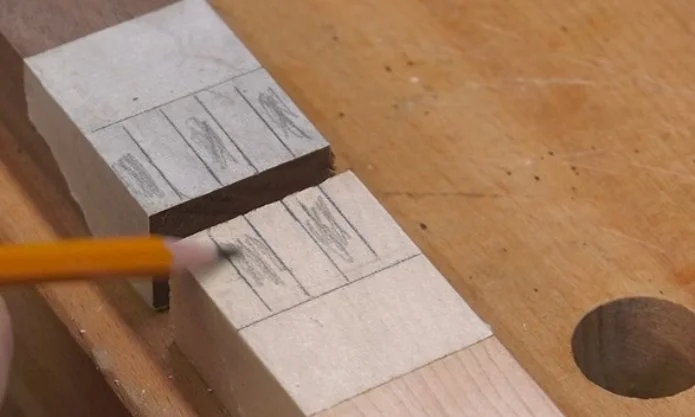
A double bridle joint is essentially five fingers (or tenons) that mesh together. Some folks have told me it just looks like a box joint. And if all the fingers are the same thickness—as these are—you could cut it with a box joint jig.
But the beauty of a double bridle joint is that you can vary the width and spacing of the fingers to create a more attractive appearance. That’s something you couldn’t do with most finger joint jigs.
The Jig Setup
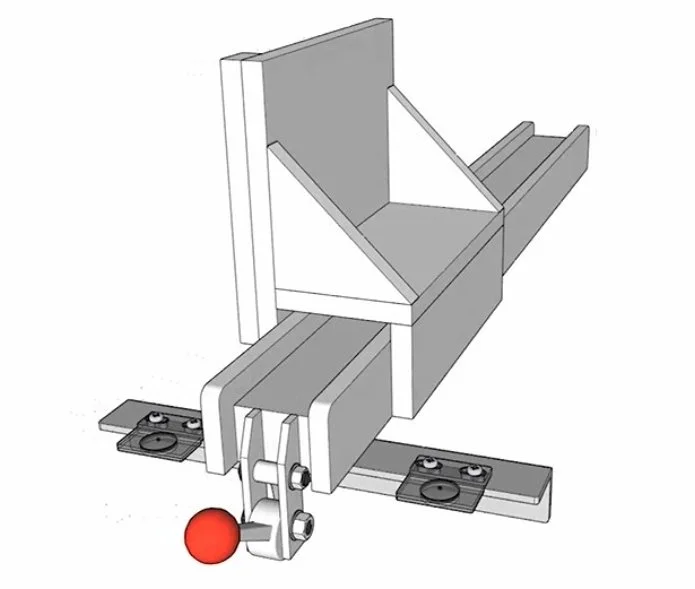
I'm going to show you how to do it with a simple tenon jig that slips over your table saw's fence. There's not much to this jig—you could easily make one to fit your own fence. But if you don't have a tenon jig, I recommend a more advanced one that I designed, that you can find the plans for in my shop. This version includes an incremental positioner and micro-adjust features that make it useful for all sorts of tasks.
If you're going to build a tenon jig, why not build a tenon jig, am I right?
You can find those plans—and a video about it— here or below.
You’ll also need a table saw blade with a flat grind on the teeth. You can use a blade from your dado set if it’s thin enough, but it’s worth investing in a good rip blade with flat teeth. It’s incredibly useful for all kinds of joinery, not just for ripping thick stock more efficiently. I'll link to my favorite blade below this article as well.
Cutting the Joint: Step by Step
It is very important to pay attention to the order of the cuts. These aren’t arbitrary. Each step has a reason, and it will all come together at the end.
I’ll start with the double-tenoned piece. To avoid confusion, we’ll call this piece (made from walnut in my example) the stile.
Step 1: Cutting the Center Slot (Stile)
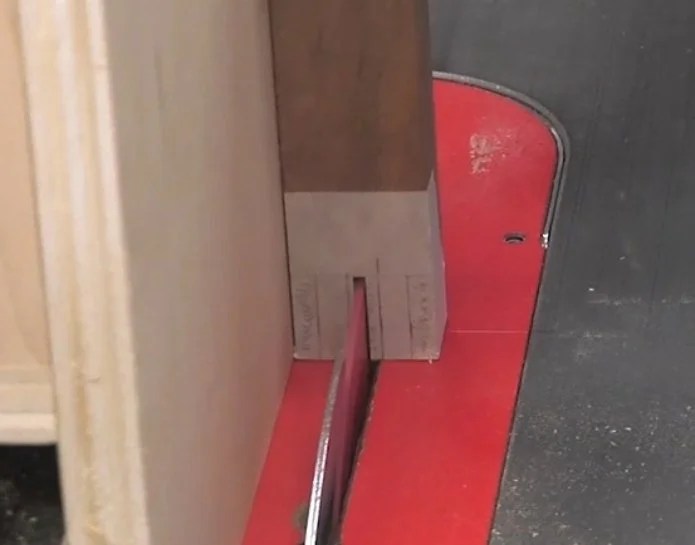
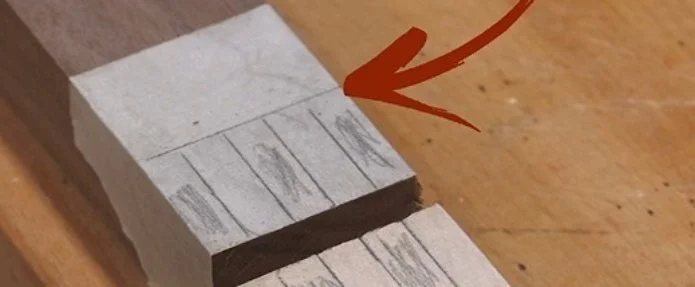
I set the jig to cut a kerf right down the center. On this first cut, I’m also sneaking the blade up to the proper height—I don’t want to crank it up all the way from the start. It’s far better to raise it a little at a time, taking a couple of extra passes until the kerf just touches the baseline.
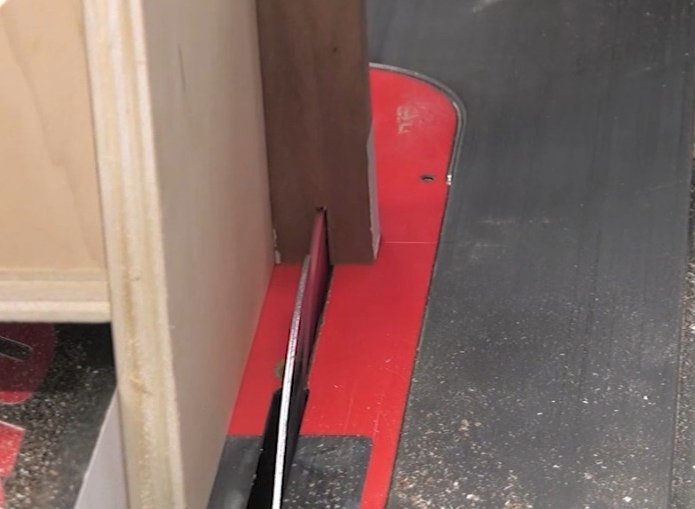
Once the height is dialed in, I rotate the workpiece 180 degrees and make another pass. This widens the kerf while keeping it centered on the end of the workpiece. If I need it wider, I move the jig a tiny bit closer to the blade and repeat the process.
Step 2: Cutting the Rail
Since we called the first part the stile, we’ll call the maple piece with three tenons the rail.
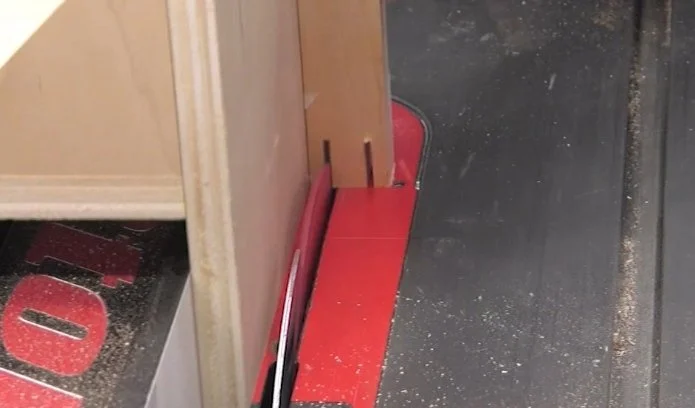
On this one, I cut both slots at the same time. I make one cut, rotate the workpiece 180 degrees, and make another. Then I move the jig a bit and repeat the cut-rotate-cut process. This lets me sneak up on a perfect fit while keeping the two slots evenly spaced.
At this point, I eyeball the fit between the center tenon on the rail and the slot in the stile. When it looks good, I’m ready to move on.
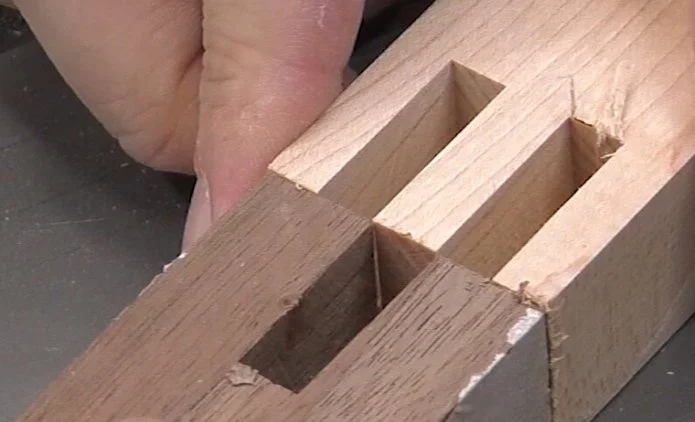
Step 3: Finishing the Fingers (Stile)
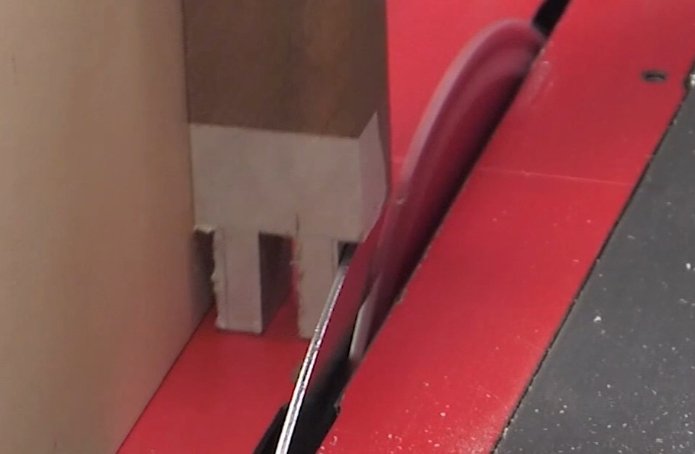
Moving back to the stile, I start cutting from the outside. I use the same cut-rotate-cut process, working inward. As I get close to my lines, I start checking the fit. If it’s too tight, I go back to the jig and shave a tiny bit off both sides until I sneak up on a perfect fit.
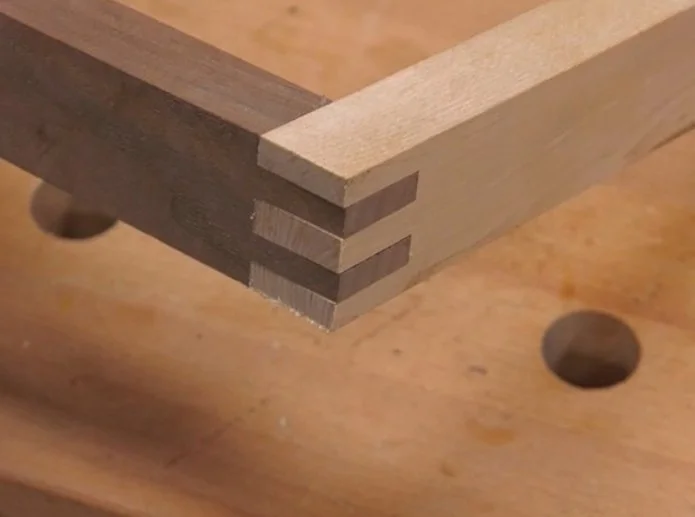
After a little sanding, you have a great-looking joint—one that you can even shape or round over if you’d like.
Why Go Back and Forth?
Now, why did I switch back and forth between the rail and the stile instead of cutting one half of the joint at a time, just using my pencil marks as a guide?
Because I don’t trust my pencil marks.
If you want a perfect joint, you have to custom-fit it as you work. Pencil marks are an important guide, but they’re no substitute for sneaking up on the fit. And this process provides the best path to that goal.
Final Thoughts
Keep these principles in mind—because you didn’t just learn to cut a double bridle joint today. You learned some important table saw skills that can apply to many other woodworking tasks.
I’ll include links below the video for the jig plans, my favorite table saw blade, and anything else you might need to get started.
Happy woodworking!
(The links below are affiliate links. If you make a purchase, I may receive a small commission.)
Plans for fancy tenon jig (and video)
Ridge carbide Flat-Kerf Rip/Joinery Blade (Use this discount code: SNWJ10)
Need some cool tools for your shop? Browse my Amazon Store for inspiration.