
STOP BURNING WOOD WITH A TABLE SAW
Scorch and burn marks aren’t just ugly—they’re a warning sign that excess heat and friction are damaging both your wood and your saw blade. This guide breaks down the real causes, from dirty or dull blades to feed rate, tooth count, alignment, and even wood species, so you can stop burning before it starts.
Scorch or burn marks on your project parts can be frustrating. Sure, you can sand them away, but that often means a lot of extra work. Worse yet, if you ignore the underlying problem that’s causing those marks, you could be shortening the life of your saw blade.
In this article, we’ll identify what causes scorch and burn marks—and more importantly, what you can do to prevent them.
Why Burn Marks Happen
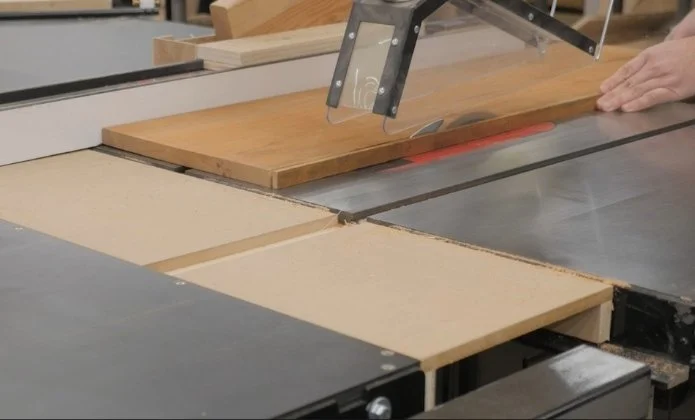
While it is possible to get burn marks when crosscutting a board, those short cuts across the grain are far less problematic than long rip cuts along the grain. For that reason, we’ll focus mainly on rip cuts here. That said, the same solutions apply to crosscuts if you’re having trouble there as well.
Put simply, scorching is caused by heat buildup from friction—so much heat that the surface of the wood actually burns. This isn’t just a cosmetic issue. If your wood is getting that hot, so is your saw blade. Excess heat will dull your blade prematurely, so identifying and eliminating the cause of that heat is important.
Start With a Clean Blade
One of the most common causes of burning is a dirty saw blade. As you cut wood, resin and pitch build up on the blade’s teeth. Some woods—especially pine—can dirty a blade relatively quickly.
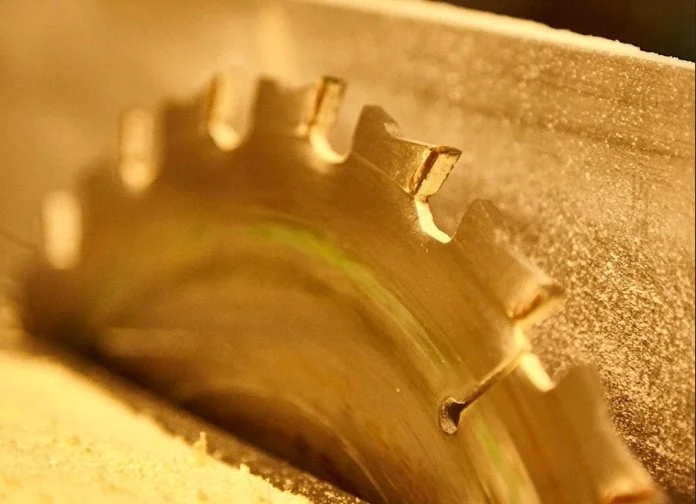
Make a habit of inspecting your blade. When the teeth start to look grimy, it’s time to clean them.
You can find a tutorial I made that shows how to properly clean a saw blade here.

Is Your Blade Dull?
If you’ve cleaned your blade and are still getting burn marks, dullness may be the issue. Unfortunately, blade sharpness is hard to judge by touch alone. Unless you have a brand-new blade for comparison, it’s difficult to say whether a blade feels slightly dull or very dull.
Because of that, it’s best to rule out other causes of scorching first. If none of those solutions help, then sending your blade out for sharpening is a good next step.
Feed Rate Matters
Another major contributor to burn marks is how fast you feed the wood into the blade.
If you feed too slowly, the blade’s teeth pass over the same wood fibers more times than necessary, generating excess heat. That heat buildup is very likely to scorch the wood.
Consistency is just as important as speed. You need to keep the board moving smoothly through the cut. Any pause or significant slowdown is a prime opportunity for burn marks to appear. This commonly happens near the end of a cut when people stop to reach for a push block. Train yourself to maintain a steady feed rate from start to finish.
Tooth Count and Sawdust Clearance
Finding the right feed rate may take some experimentation, because it is possible to feed too quickly as well. The faster you push the wood, the harder it is for the blade to clear sawdust from the kerf.
This is directly related to blade tooth count. More teeth mean smaller gullets between them. Smaller gullets have a harder time clearing sawdust, which leads to heat buildup.
Many woodworkers rely on general-purpose or combination blades with 40–50 teeth. These work well for most 3/4-inch material, especially softwoods like pine. But thicker boards produce more sawdust than those blades can easily clear.
In those cases, slowing your feed rate slightly may help—but slowing down too much can also cause burning. Sometimes the best solution is to switch blades altogether.
A 24-tooth rip blade cuts more aggressively, clears sawdust faster, and often eliminates scorching when ripping thick stock.
We have several tutorials on saw blades that explain which blade works best for different tasks. You can check out a tutorial we made about that subject here.
Check Your Saw Alignment
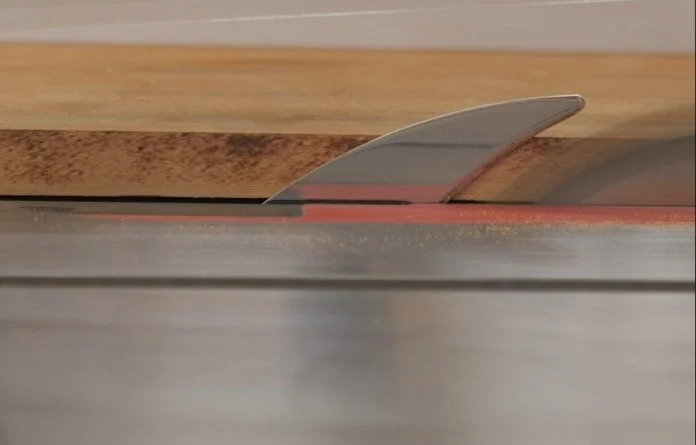
Another common cause of scorch marks is a misaligned table saw. Both the fence and the blade must be parallel to the miter slot.
A quick check can be done with a combination square: let the body of the square ride in the miter slot while the rule touches the blade or fence. If things aren’t parallel, adjustments are needed.

The adjustment process depends on the type of saw you own, but it isn’t difficult. We created an in-depth tutorial on table saw alignment, which you can find here.
Sometimes, It’s the Wood
So what if your blade is clean, your feed rate is dialed in, you’ve tried a blade with fewer teeth, checked the alignment, and even had the blade sharpened—yet you’re still getting burn marks?
In that case, the problem may not be the blade, the saw, or even you. The problem may be the wood itself.
Some species scorch very easily. Maple is notorious for burning, as are walnut and cherry. Very hard woods like purpleheart and other exotics are also prone to scorching. In some cases, it simply isn’t possible to eliminate burn marks completely.
When that happens, the goal should be to minimize them. If the marks are light and shallow, they can usually be sanded away without much trouble.
Conclusion
Scorch and burn marks aren’t just ugly—they’re a warning sign that excess heat and friction are damaging both your wood and your saw blade. Apply the tips from this article to minimize or eliminate this problem.
Happy woodworking!
This post may contain affiliate links. If you make a purchase, we may receive a small commission.
Need some cool tools for your shop? Browse my Amazon Storefront for inspiration.