
ROUTER BUSHINGS VS BEARINGS: WHAT YOU SHOULD KNOW
Router bushings and bearing-guided bits may seem similar, but they serve very different purposes. This guide explains when to use each one—so your mortises, templates, and flush trims come out accurate, clean, and safe.
I came across a question I thought was really interesting — and one that I bet a lot of new woodworkers have as well. I know I certainly had it when I was starting out:
What’s the difference between a router bushing and a bearing-guided bit, and when would you use one over the other?
What Is a Router Bushing?
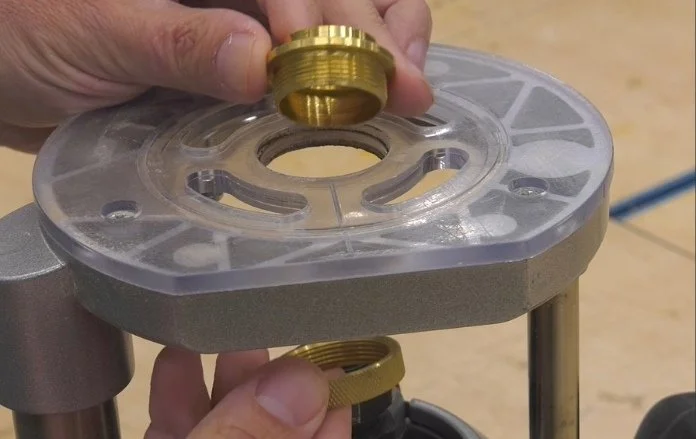
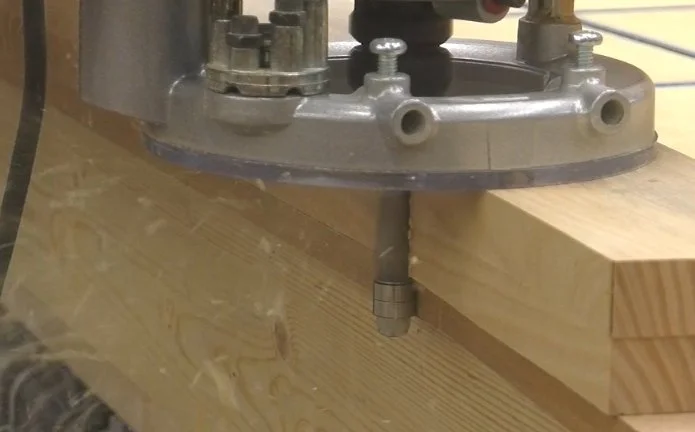
A bushing is a collar that attaches to the router’s base plate, surrounding the router bit. Bushings come in different sizes and are used to guide the cut when working with certain jigs and templates.
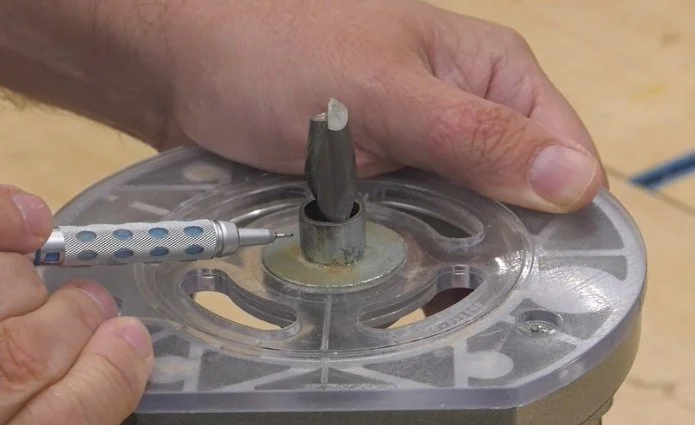
A bushing stays stationary while the bit’s cutting length can be extended or retracted inside it. They can be used with handheld routers and, in some cases, with router tables as well.
What Is a Bearing-Guided Bit?
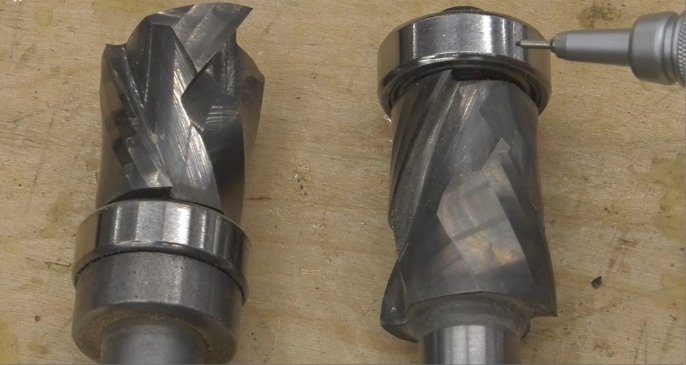
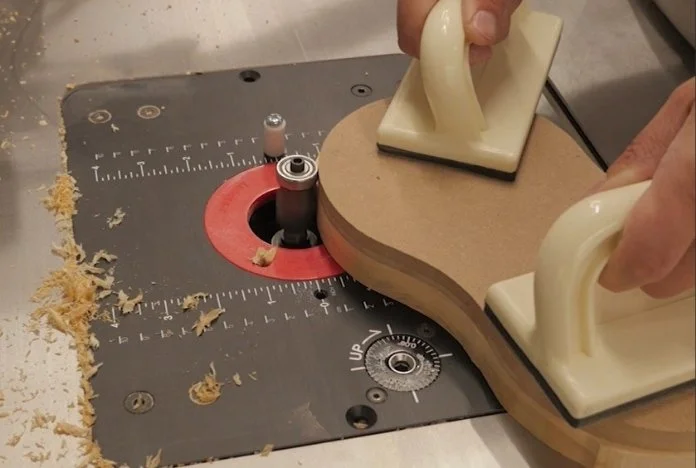
A bearing-guided router bit features a small ball bearing either on the end or at the base of the cutter.
If the bearing is on the end, it’s called a flush-trim bit.
If the bearing is at the base, it’s called a template bit.
Bearings are used to guide the bit when working with jigs and templates, just like bushings. However, while a bushing is larger in diameter than the bit itself, a bearing is the same diameter as the cutting edges.
Another difference is that the bearing moves with the bit as you extend or retract it in the router, which can make it challenging to use in some situations.
When to Use a Bushing
Let’s look at some examples of when a bushing is the better choice.
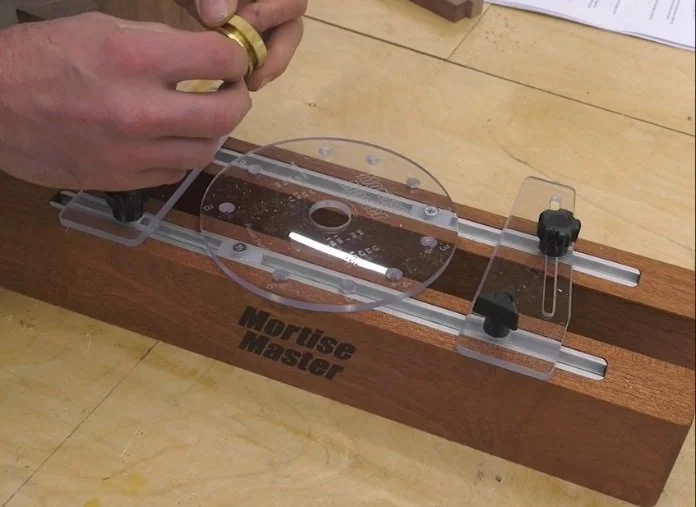
Mortising Jigs – A mortising jig requires a bushing. It won’t work with a bearing-guided bit because a bearing on the end would make it impossible for the tip of the bit to cut down into the wood.
If you tried using a template bit (bearing at the base), the bit would need to be fully extended so the bearing could ride along the template. That would make the mortise automatically as deep as the cutter is long. You’d need different bits for different mortise depths, and you’d be forced to cut the mortise in one pass — which is hard on both the bit and the router.
With a stationary bushing, however, you can extend the router bit in stages, cutting the full depth of the mortise a little at a time and stopping at any depth you like, regardless of the bit’s overall length.
Dovetail Jigs – A dovetail jig presents a similar situation. The length of the joint’s pins must equal the thickness of the mating board. You have to be able to adjust the cutting depth of the router bit while keeping the bushing against the jig’s guides. This would be very difficult — if not impossible — with a bearing-guided bit.
When to Use a Bearing-Guided Bit
Now let’s talk about when a bearing-guided bit shines.
Flush Trimming – Suppose you want to trim an edge flush with an adjacent surface. The bearing on a flush-trim bit is perfectly positioned for this job, ensuring a clean, precise result. This technique is common not only in countertop installation but also in many cabinetmaking applications.
Template Routing – Template routing is also much easier with a bearing-guided bit because the larger size of a bushing creates an offset. That offset forces you to make your template smaller than your final part. A template bit eliminates this issue, allowing your template to match the final size exactly.
While bits with bearings at the base are typically called template bits, flush-trim bits can also be used for template routing.
Solving Common Routing Challenges
Imagine you’re routing with a handheld router, and the bit’s cutting length is greater than the thickness of your workpiece. If you lower the bit enough to cut through, the end may dig into your spoilboard. Raise it, and the bearing may lift above the edge of the template.
You have two solutions:
Use a thicker template to raise the router higher, or
Flip the workpiece so the template is on the bottom and use a flush-trim bit (with the bearing on the opposite end).
The same logic applies at the router table. The cutting length of a template bit doesn’t matter since it can extend upward above the workpiece. However, as you move around the template, you may run into grain direction issues.
You can’t simply reverse feed direction on a router table — that would create a dangerous climb cut. (If you’d like to learn more about this, check out my tutorial on grain direction and climb cuts.)
To avoid cutting against the grain, you can flip the workpiece, putting the template on top. In that case, switch to a flush-trim bit with the bearing on the end.
Hybrid Options

If swapping router bits mid-project sounds like a pain, there’s good news: some bits have bearings on both ends of the cutter — a sort of flush-trim/template hybrid bit. You can start with the template on the bottom, then flip the workpiece and lower the bit to finish with the template on top.
Final Thoughts
Both bushings and bearing-guided bits have their place in the shop. Understanding their differences helps you choose the right tool for the job — improving both accuracy and safety in your work.
Happy woodworking!
This post may contain affiliate links. If you make a purchase, we may receive a small commission.
Need some cool tools for your shop? Browse my Amazon Storefront for inspiration.