
HOW TO PROPERLY USE A PLUNGE ROUTER
A plunge router isn’t just a fixed-base router that moves up and down—it’s a precision machine packed with features that can transform your woodworking. Learn how to master its depth stop, micro-adjustments, and setup tricks for cleaner cuts, safer mortises, and flawless inlays.
We could talk all day about routers and how to use them. In fact, I’ve made a bunch of videos over the years on that very subject. If you want to get the most from your router, I recommend checking out some of our other router tutorials.
In this article, I want to focus on what makes a plunge-style router so unique. A surprising number of folks think all a plunge router does differently is, well, plunge. Many don’t realize what makes this tool so special—or how to take advantage of its unique features in their projects. Hopefully, this article will change that.
Fixed vs. Plunge Routers
Some routers feature fixed bases, while others feature plunge bases.
A fixed-base router lets you set your cutting depth before you begin and then locks that depth in place.
A plunge router, on the other hand, allows you to adjust that depth while you’re cutting by pressing the motor down along a pair of spring-loaded posts. These springs provide resistance, giving you control as you ease the bit into your workpiece.
There are plenty of reasons why you might want to do this. For example, if you’re cutting mortises, inlays, or other recesses away from the edge of your workpiece, plunging straight down is much safer and easier than trying to tip a fixed-base router into the cut. Keeping the base flat on the surface gives you stability and control.
The Most Underrated Feature: The Depth Stop
One of the best—and most underutilized—features of a plunge router is the depth stop. I’m always amazed by how many woodworkers don’t use it, because it’s an absolute game-changer.
Let’s say you’re cutting a decorative edge profile on a board. You might set the bit depth by placing it flat on the edge until it looks right, then locking it in place.
However, cutting the entire profile in a single pass can cause chip-out or leave a rough surface. That’s where the depth stop comes in.
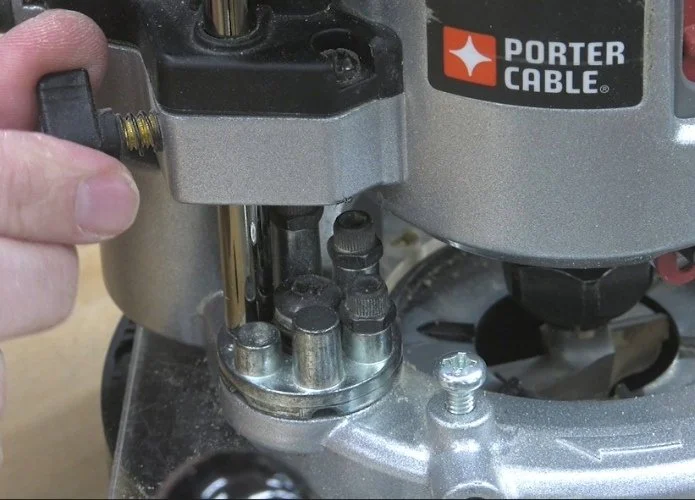
After setting your bit at full depth, lower the depth rod onto the lowest step of the turret stop. This assigns your full cutting depth to that step. Then, you can rotate the turret to higher steps for a series of shallower cuts, working your way down to full depth gradually.
If you’re feeling confident—say, you’re working with the grain and don’t expect chip-out—you can make a single, deeper pass and then finish with one light skim cut at the final depth for a clean surface.
Using the Depth Stop for Mortises
The depth stop isn’t just for edge work—it’s incredibly helpful when cutting deep mortises too. Taking off too much material at once can be hard on your bit (and your router).
To prevent that, measure your total mortise depth with a ruler, set your depth rod to that full depth on the lowest turret step, and work your way down step-by-step.
For even more precision, use setup blocks instead of a ruler. Here’s how:
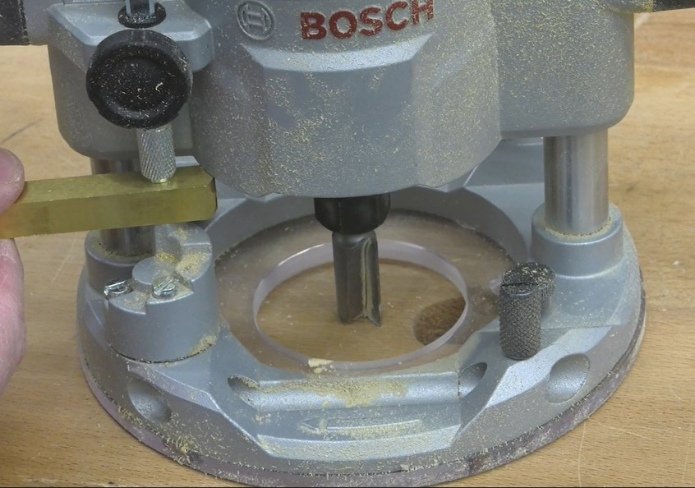
Zero the router by plunging until the bit just touches the benchtop.
Place a setup block—or a combination of blocks that equal your desired depth—between the rod and the stop.
Lock the rod in place.
Add feeler gauges, or paper, if needed for ultra-precise adjustments.
Now you can plunge to that exact depth, either all at once or in incremental passes using the turret steps.
If you need setup blocks, I like these —they’re affordable and incredibly handy for fine-tuning your work.
Using the Workpiece as a Setup Gauge
Sometimes the easiest setup tool is your workpiece itself.
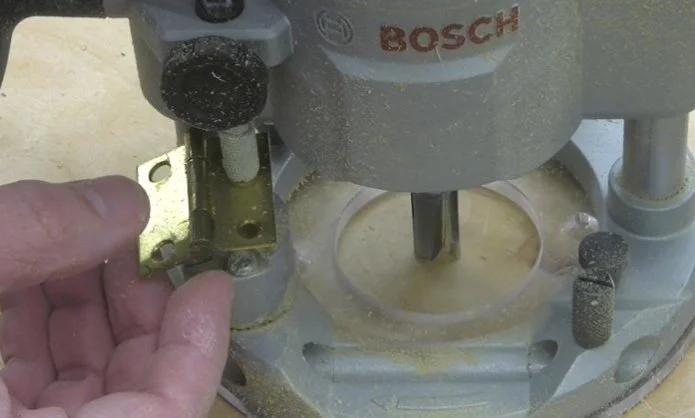
For example, if you’re routing a hinge mortise, you can use the actual hinge to set your plunge depth. Zero out the router with the bit on the benchtop, place the hinge between the depth rod and the stop, and lock it in place. Your mortise will now be exactly as deep as the hinge leaf is thick.
This same method works great for inlays, bowties, and other flush-fit recesses.
Many plunge routers also feature a micro-adjuster, either on the rod or one of the stops. Use this to make fine-tuned depth changes—it’s especially helpful for hinge work or delicate inlay cuts.
Final Thoughts
A plunge router is far more than just a “router that plunges.” Its depth-stop system, fine control, and versatility make it one of the most powerful tools in any shop. Whether you’re cutting mortises, shaping edges, or doing precision inlay work, learning to master the plunge router will take your woodworking to the next level.
This post may contain affiliate links. If you make a purchase, we may receive a small commission.
Need some cool tools for your shop? Browse my Amazon Storefront for inspiration.