
WHEN A KNIFE IS BETTER THAN A PENCIL
Choosing the right marking tool can make a huge difference in woodworking accuracy and efficiency. This article explains when to use pencils, mechanical pencils, marking knives, and marking gauges, with practical tips for selecting the proper tool for rough layout, precise joinery, and everything in between.
Last week I released an article about marking gauges—an ancient tool that still has a bunch of uses in the modern workshop. I highly recommend you check it out because learning how to properly use a marking gauge can really take your craft to the next level.
But, as often happens when you discuss any woodworking topic, it raises other questions that are equally important. In this case, the question is: when might it be better to use a pencil or a knife instead of a marking gauge? That’s what this post is all about.
There are all sorts of situations where you need to make a mark on a workpiece. Sometimes that mark must be precise; other times it doesn’t. Sometimes the mark is a visual reference, other times it’s a physical locator for a cutting tool. Because various situations call for different types of marks, a woodworker may need a variety of marking tools.
The Case for Pencils
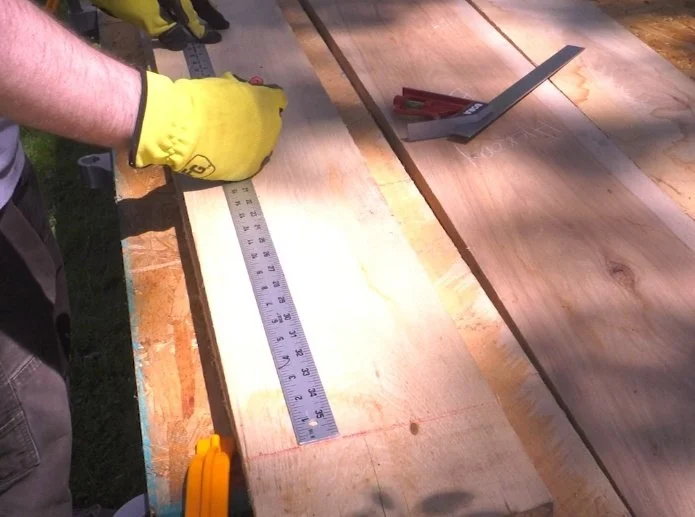
For example, when I’m laying out locations for project parts on rough-milled boards, I’m not looking for precision. These aren’t my final measurements—I’m just deciding how to break the board down. In the above example, I need marks that are easy to see and from a tool that won’t break on the rough surface of the board.
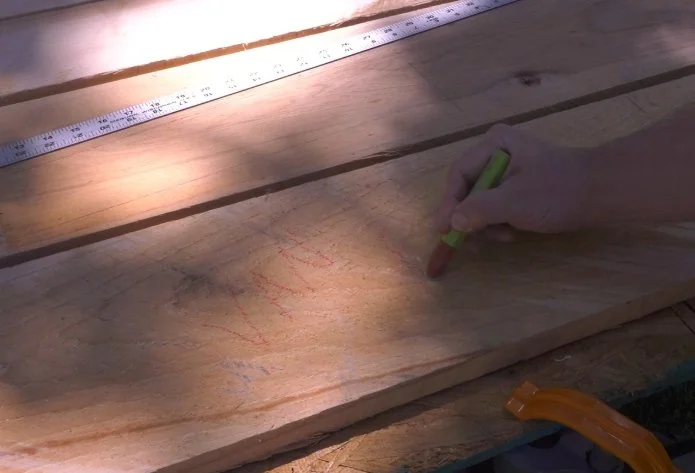
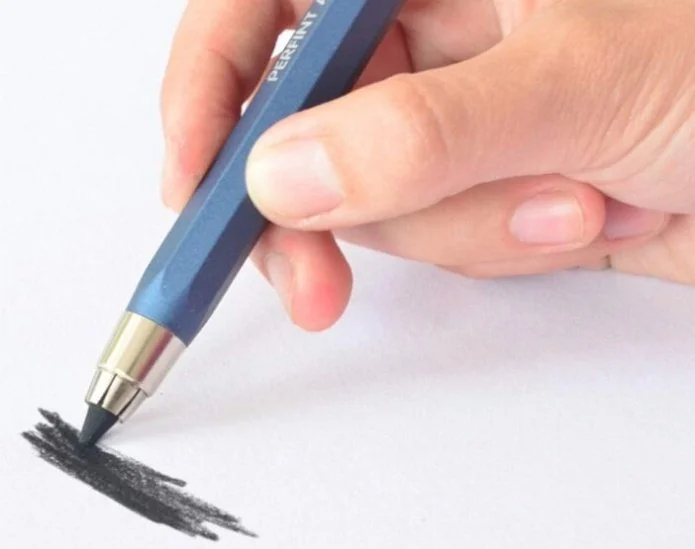
I used to use a lumber crayon, but a few years back I switched to a thick lead holder like the one below. It’s not only very durable, but also a little more precise than the crayon, so I can write legibly on smaller pieces.
I love this lead holder—I don’t know how I got by without it. It’s also very useful for coloring a surface for jointing or sanding. If you’re unsure why you might want to color a surface for sanding, I recommend checking out the sanding video we made a while back. I’ll link to that, and to this lead holder, below.
But this thick lead isn’t well suited for making precise marks for a project part’s final dimensions. In that case, I used to use a wood pencil. I like wood pencils because they have an old-school feel, and the thick lead is pretty durable. If you like wood pencils, I recommend investing in a good one, like Ticonderoga, because high-quality cedar and graphite is much more durable than the cheap pencils you get at the dollar store. I also recommend an electric pencil sharpener—they’re handy for quickly touching up the point as it rounds over.
That’s one downside of old-school wood pencils: after a few marks, they become too blunt to produce a fine line and need frequent sharpening. Another downside is putting a pencil in your apron pocket—bend over and the point breaks or the whole thing snaps in half. A long time ago, we made a quick tip video about using a cap from an old Sharpie marker in your pocket to create a holster that better protects the pencil’s point.
Why I Switched to Mechanical Pencils
I don’t use wood pencils much anymore because I found a mechanical pencil that holds up to the demands of a woodworking environment.
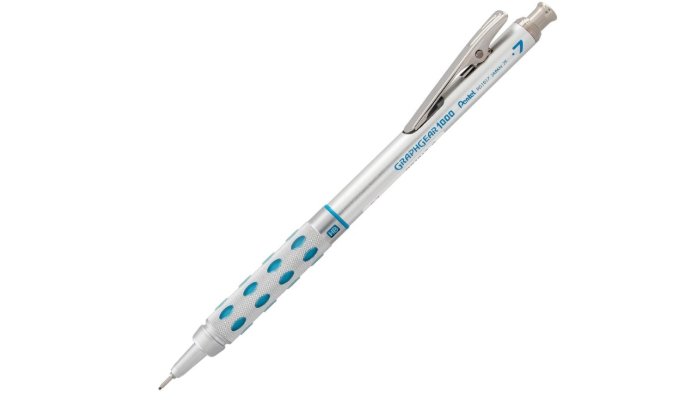
I like these mechanical pencils for a lot of reasons: they’re metal, durable, and comfortable—but mostly I love them because the tip withdraws into the barrel when you push the top of the clip. Most mechanical pencils leave the lead exposed, which inevitably breaks off. You can push the lead back up inside when you're done, but you have to consciously remember to do that. And the fine metal point that guides the lead is fragile—if it bends even a little, the pencil won’t work anymore. That’s why I hated mechanical pencils in the workshop for years.
But this one retracts both the lead and the tip automatically when I squeeze the clip to slip it into my pocket. I don’t even have to think about it. I love that.
Why I Carry More Than One
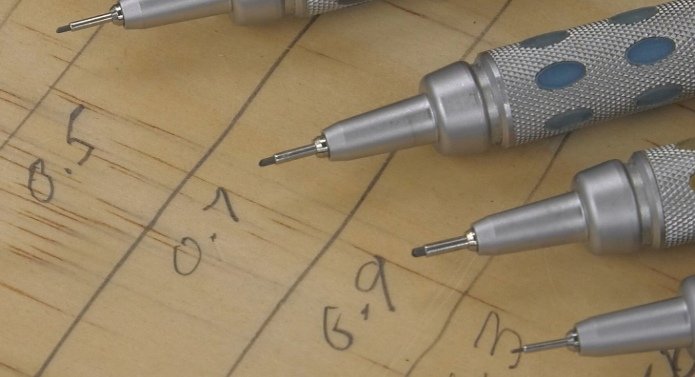
That brings us to another thing that makes a mechanical pencil superior to other marking tools: variety. It’s always hard to find the right balance between creating a fine line for precise cuts and having a durable lead that won’t break. Fortunately, mechanical pencils come in various lead thicknesses—so I have lots of options.
For most marks, I like a 0.5mm or 0.7mm lead. I actually carry two of each because I sometimes set one down on the bench instead of putting it back in my pocket, and it’s nice to have a backup on the other side of the shop.
That accounts for two pencils. Why do I carry four? Because there are two other lead sizes that I find essential.
One is 0.9mm. This is thick and durable. It’s not as strong as the lead holder I use for rough layout, but if I want a precise mark on a rough surface, 0.9mm is what I reach for.
On the other end of the spectrum is 0.3mm. This is a fragile lead—you have to be careful with it—but it’s ultra precise. So precise, in fact, that I’ll use it for fine joinery such as dovetails.
I bought this set with all four sizes, but they can also be purchased individually.
What About Marking Knives?
Have fine-point mechanical pencils made marking knives obsolete? Not at all.
A marking knife makes the finest, most precise line. And like a knife-style cutting gauge, the line left by a marking knife can provide a physical reference into which you can drop a cutting tool such as a chisel for extremely precise joinery.
Marking knives also sever wood fibers, something a pencil can’t do. This helps eliminate tear-out when making crosscuts—by hand, at the table saw, or even at a router table.
However, it takes some practice to use a marking knife properly. For example, it can be difficult to get a precise mark if you place the bevel against the edge of a square or ruler. If your knife is beveled on both sides, you must tilt it properly as you cut.
That’s why some knives feature a single bevel, so you can place the flat side against your straight edge. The downside is that it can be awkward to mark on the opposite side of your rule—unless you're ambidextrous.
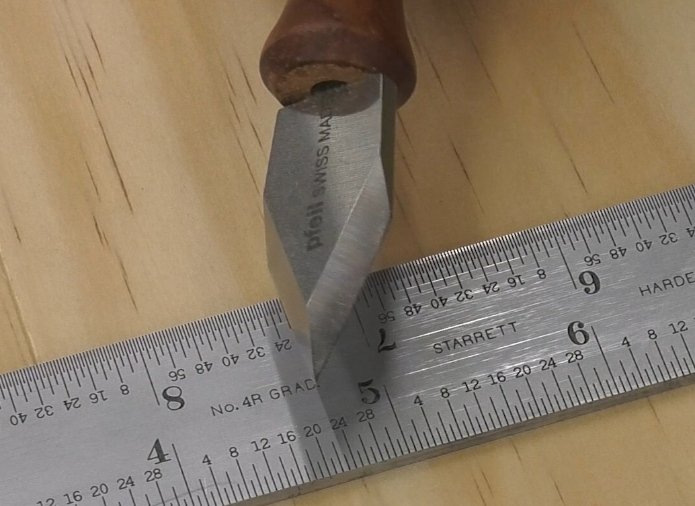
My favorite style is the spear point. This gives me a flat surface to press against my straight edge no matter which side I’m marking on.
When to Use Which Tool
Now that you know which marking tools I like to use, let’s review when each type is best:
Thick lead holder – For general, imprecise marking of rough boards and coloring surfaces to be milled or sanded.
0.9mm mechanical pencil – For more precise marks on rough surfaces.
0.5mm or 0.7mm mechanical pencil – For everyday layout where precision and durability both matter.
0.3mm mechanical pencil – For very precise marks, such as dovetail joinery.
Spear-point marking knife – For cutting tool registration and clean crosscuts with severed fibers.
Marking gauge – As explained in the previous article, ideal for consistent and repeatable joinery layout.
Marking tools are not expensive. There’s no reason to limit yourself to just one, especially when matching the proper tool to the job is a fundamental of good woodworking.
I hope this tutorial helps you decide what’s best for you.
Happy woodworking!
(This post contains affiliate links. If you make a purchase, we may receive a small commission.)
Thick lead holder (clutch pencil): https://amzn.to/3dtoFKs
Pentel Graphgear 1000 Mechanical pencil set: https://amzn.to/3uYeYto
Pentel Graphgear 1000 individual pencils: https://amzn.to/2RMw0MR
Spear-point marking knife: https://amzn.to/3eeu8DQ
Ticonderoga wood pencils: https://amzn.to/2OZTYDa
Electric pencil sharpener: https://amzn.to/3eeyQ4w