
ARE YOU CLEANING PAINT BRUSHES WRONG?
Cleaning oil-based finish brushes isn’t just about the solvent—it’s about smart technique from the moment you start applying finish. Keep bristles clean at the source, use a two-step solvent rinse, and finish with soap and water to make your brushes last for years.
This post contains affiliate links. If you click or make a purchase, we may receive a small commission.
Previously we built a solid wood door for a video series. Along with it came a tip I think is very useful.
It involves cleaning your brush after applying an oil-based finish such as polyurethane—or even a poly-oil mix like Danish oil.
You’ll Need the Right Solvent
You can’t wash this stuff out with water. You need a thinner such as mineral spirits.
If you live in a place where petroleum-based solvents aren’t available, you can try one of the synthetic alternatives. Just make sure it can be used to thin oil-based finishes.
It Starts While You’re Applying Finish
The trick isn’t just the type of solvent—it’s the technique. And that technique actually begins while you’re applying the finish.
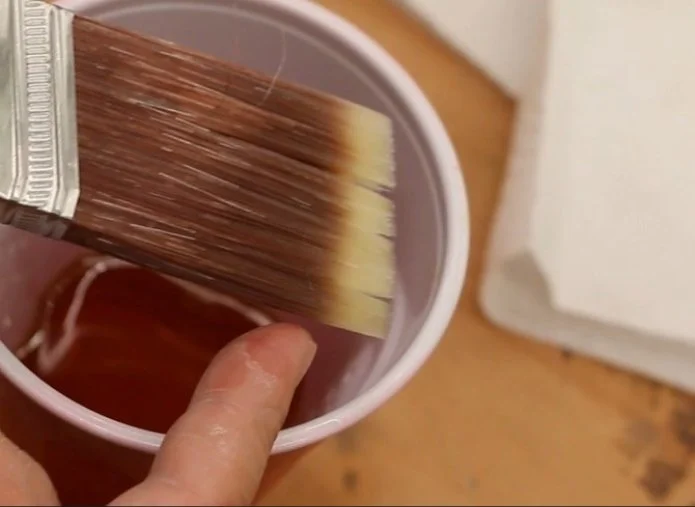
Try to keep the finish on the lower half of the bristles. The upper portion (near the ferrule) is tightly packed, making it much harder to clean. The less finish that gets into the roots, the easier cleanup will be.
Some helpful habits:
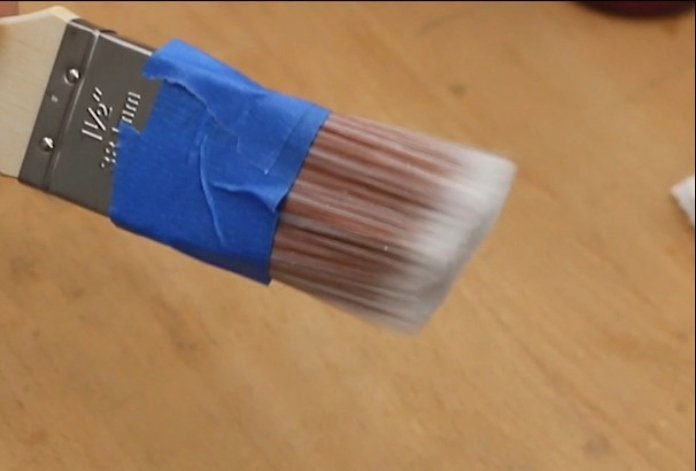
Wrap blue tape around the base of the bristles to keep them tight
Keep a paper towel nearby and wipe excess finish off the top of the bristles regularly to prevent buildup that can seep deeper into the brush
Clean Between Coats
Don’t just wrap your brush in a plastic bag between coats.
It only takes a minute to clean it properly, and doing so prevents the finish from partially drying on the bristles while you wait to apply the next coat.
The Cleaning Process
If you’ve taken care of your brush so far, cleaning it is simple.
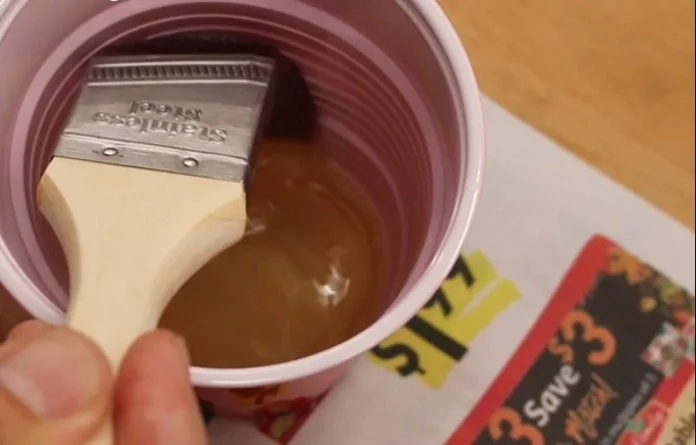
Start by sloshing the brush around in a container of mineral spirits (or your chosen solvent). Let the solvent do the work—there’s no need to soak the brush for long periods, which can deform the bristles.
Just work the solvent through the brush until the finish dissolves.
The Step Most People Skip
After the initial cleaning, remove as much solvent as possible, then dip the brush into a second container of clean solvent.
This step is critical—and often skipped.
The first container becomes contaminated with finish, leaving a diluted film behind on the brush. The second rinse removes what remains.
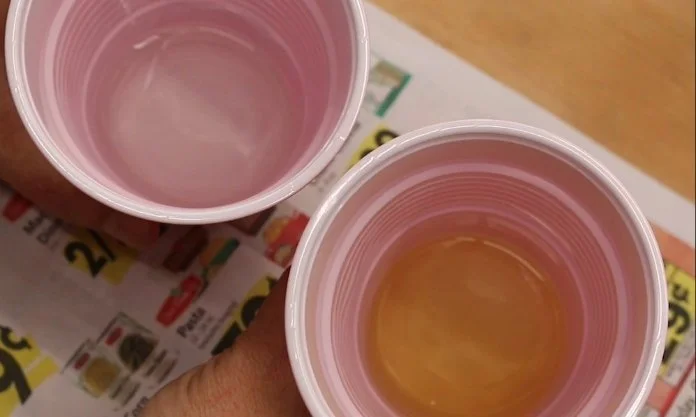
You can see the difference in color between the two containers in the above picture. The top is clean solvent and the bottom is contaminated.
Reusing Solvent (Smart Tip)
Worried about wasting solvent?
Don’t be.
When the first container becomes too dirty:
Pour it into a separate container
Use it later to thin finishes
Then rotate your containers:
The second becomes your first
Add fresh solvent as your new second
Final Rinse With Soap and Water
You’re not done yet.
You still need to remove the solvent from the brush—another step many people skip.
Use:
A drop of dish soap
Warm water
The degreaser in the soap will break down any remaining solvent and residue.
Drying and Storage
Dry the brush thoroughly, then replace the cardboard sleeve.
This is important because it helps maintain the shape of the bristles.
If you no longer have the sleeve:
Wrap the brush loosely with tape (adhesive side facing out)
Add another layer to cover the adhesive
Don’t wrap it tightly—you’re just creating a guide to keep the bristles straight and properly tapered.
Final Thoughts
Invest in high-quality brushes, take good care of them, and they will last for many years.
A few extra minutes of proper cleaning can save you money—and frustration—down the road.
This post may contain affiliate links. If you make a purchase, we may receive a small commission.
Need some cool tools for your shop? Browse my Amazon Storefront for inspiration.