
FASTER TOOL SHARPENING CHANGES EVERYTHING
Sharp tools aren’t just nice to have—they’re the difference between smooth, efficient woodworking and constant frustration. By touching up edges early with a strop and using simple, fast sharpening techniques, you can spend less time sharpening and more time building.
This post contains affiliate links. If you click or make a purchase, we may receive a small commission.
A number of years ago we made a tutorial about the pros and cons of various sharpening methods—sandpaper, stones, diamonds, pastes, and machines. Check it out if you haven’t decided which method is right for you yet.
In my shop I do a lot of sharpening with powered systems. But most of the people I meet who are struggling with sharpening are trying to do it by hand. So let’s focus on that—specifically some tips for doing it quickly and accurately so you can get back to work.
Because that’s the most important factor, in my opinion.
If sharpening is slow and tedious, you’ll put it off and end up working with dull tools. Dull tools make your work more difficult, and the duller they get, the harder they are to restore when you’re finally forced to sharpen them—making the whole process even slower and more tedious.
Why Sharp Tools Matter
This can have a direct impact on your woodworking.
Even among power tool woodworkers, certain hand tools—such as block planes and chisels—can greatly enhance the way you work. But if they aren’t sharp, these tools can be frustrating to use or may produce less-than-satisfactory results.
The bottom line is that your sharpening technique can affect your entire woodworking experience.
Being able to touch up an edge as soon as it starts to dull is a game changer. So the tips in this article may be exactly what you need no matter what type of abrasive material you use.
My personal preference is diamond stones. But don’t dismiss this if you prefer sandpaper or another system. These tips will still work for you.
Sharpen Before Tools Get Really Dull
The key to fast and easy sharpening is not letting your tools get very dull in the first place.
As soon as you feel your chisel or plane isn’t cutting as well as it should, stop and sharpen it.
This means touching up tools more frequently, but it will only take a few seconds.
Your First Line of Defense: The Strop
I keep a leather strop covered in abrasive paste near my workbench. (You can find more info about strops here.)
Strops are fantastic because you don’t need a jig.
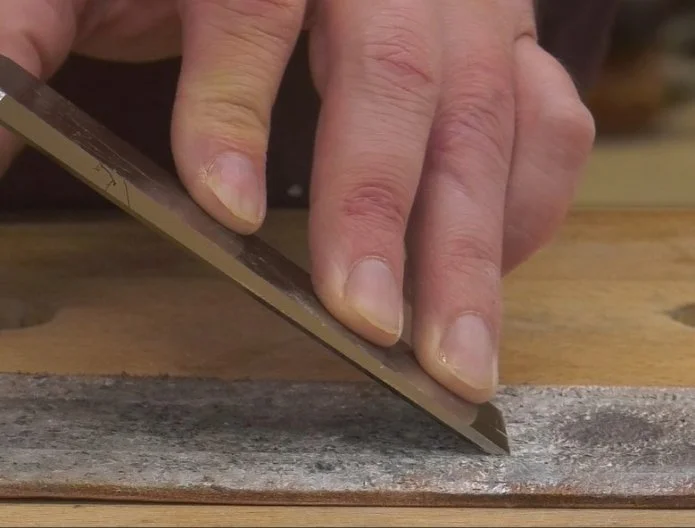
Just feel for when the bevel is flat on the strop, then tilt the tool upward a tiny bit—maybe one or two degrees. Lock your elbow to maintain that angle and shift your body backward to pull the tool across the strop.
Tilting the tool slightly upward concentrates your effort on the very thinnest part of the edge, where a little work goes a long way.
It also gives you some room for error as you move the tool across the strop.
If you tried to keep the full bevel perfectly flat on the leather, even a small downward tilt would lift the cutting edge off the strop. You’d end up polishing the heel of the tool, which wastes time.
But by working at a slightly raised angle—biased toward the cutting edge—you have a little wiggle room while still honing where it matters most.
I usually do about ten strokes, and I’m ready to get back to work.
It only takes a few seconds. I don’t have to leave my bench, and I don’t have to set up any jigs.
If I do this every few minutes, my tool will stay razor sharp for a long time.
But if I neglect it, the tool will eventually dull to the point where the strop alone won’t help, and I’ll need to use a stone.
When You Need More Than a Strop
Of course, it’s not always practical to strop certain tools every few minutes.
For example, hand planes must be disassembled so you can sharpen them, then reassembled when you’re finished. That alone takes a couple minutes, so it’s not practical to constantly strop a plane iron.
Sometimes you also get so busy working that you forget to strop before the tool becomes too dull for the fine abrasive paste to have much effect.
So while stropping is your first line of defense, sometimes you need more abrasive power.
In those cases I use a 1200-grit diamond stone, like the ones made by MPOWER. They make great sharpening systems that have leather strops included.
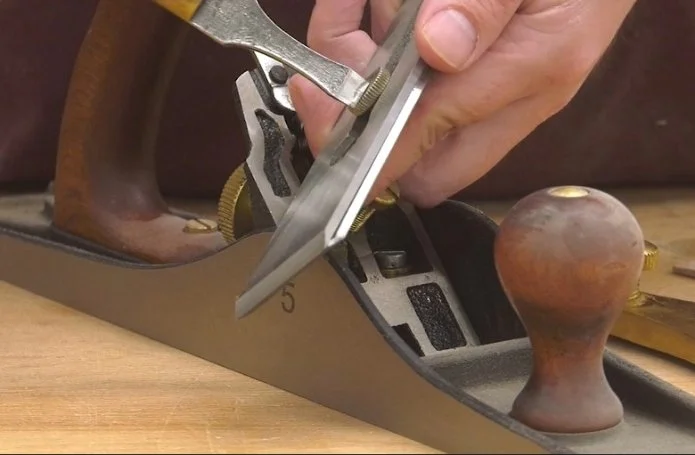
Using a Sharpening Jig Quickly
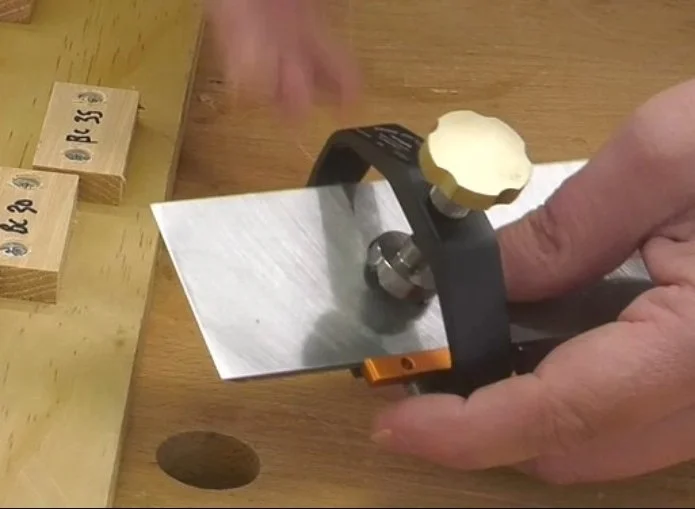
With most jigs, the bevel angle is determined by how far the tool protrudes from the front of the jig. So the faster you can determine that protrusion, the faster your setup will be.
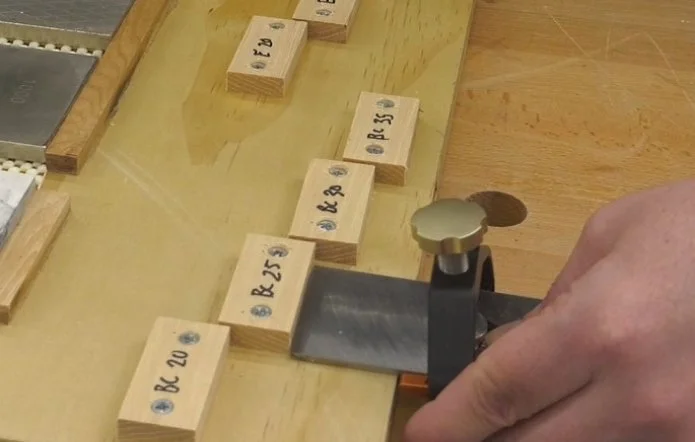
Many people build gauges with stops to set that distance quickly. You can find a video about making your own here.
Another approach is simply placing the bevel on a flat, well-lit surface and adjusting it by eye. If you can’t see light under the bevel, you’re probably close.
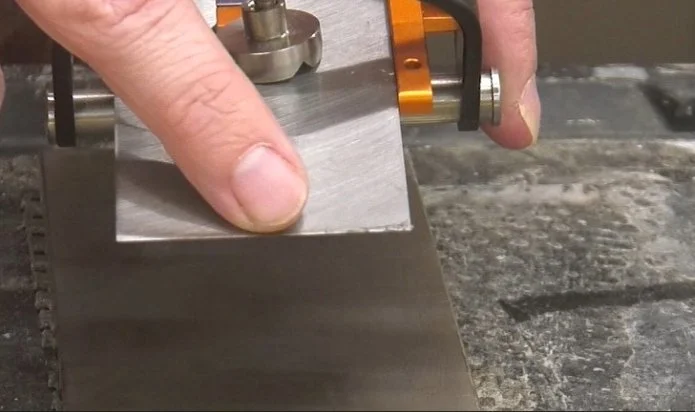
Creating a Micro-Bevel
Click to enlarge.
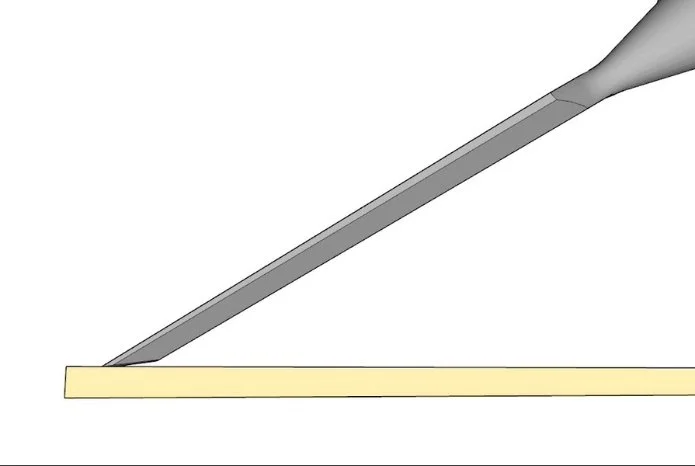
If you want to sharpen quickly and easily, raise the heel off the surface slightly.
By slightly raising the tool, you concentrate all your effort right on the cutting edge, where a little work goes a long way.
Because the stone is more aggressive than a strop, this will create a micro-bevel at a slightly steeper angle than your main bevel.
After repeated sharpenings, that micro-bevel will gradually grow wider until it eventually becomes the primary bevel. At that point you’ll need to regrind the tool, but that won’t happen for quite a while.
Removing the Burr
As you sharpen, use light pressure and move the tool across as much of the stone’s surface as possible.
It won’t take long before you feel a thin piece of steel folded over the edge. This is called a burr.
Once you can feel that burr across the entire back of the tool, you’re almost done.
Before moving on, apply a little extra pressure to one corner of the iron, then the other. This slightly tapers the corners so they won’t dig into the wood while planing.
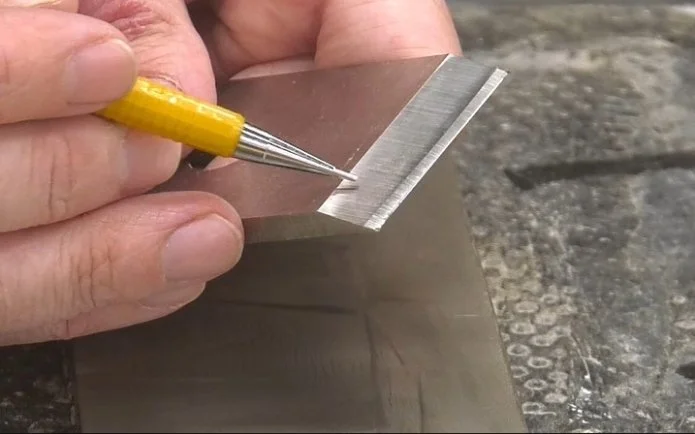
The Ruler Trick
Next, remove the iron from the jig.
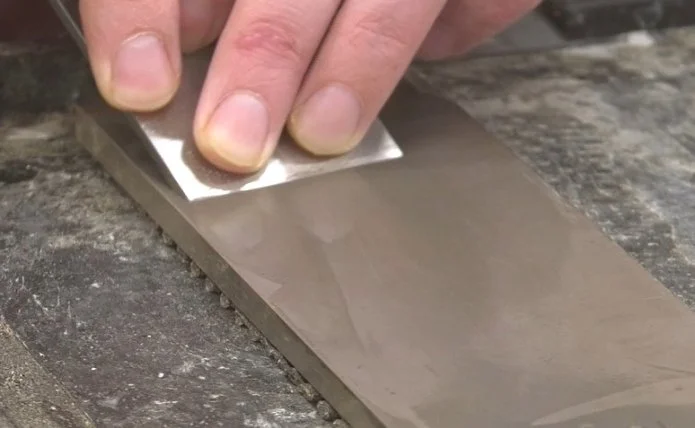
Place a thin metal ruler along the edge of your stone, then lay the plane iron on top of it.
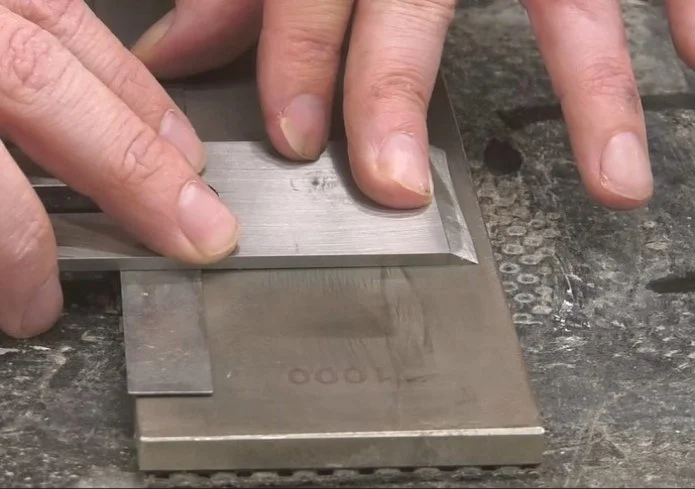
The ruler raises the iron slightly. As you rub the back across the stone, you quickly remove the burr and create a polished surface right behind the cutting edge—without flattening the entire back of the iron.
This method is called the ruler trick.
However, it should only be used on plane irons.
Chisel backs must remain completely flat, so do not use the ruler trick with chisels.
Returning to the Strop
In just a couple minutes, the edge is ready to go back to the strop.
If you strop regularly, you’ll use the stone less often.
As soon as you notice the strop isn’t enough, go straight to the 1200-grit stone. Don’t wait too long.
If you do, you may need to start with a coarser grit like 600 or 300 and work your way back up.
The goal is simple:
Fewer grits
Fewer steps
Faster sharpening
Optional: Adding a 4000-Grit Stone
While my preference is MPOWER’s sharpening system where you can go immediately from stone to strop, some woodworkers prefer adding in something in between, such as a 4000-grit ceramic stone.
If speed is your priority, this can help.
The sequence would be:
1000-grit diamond stone
4000-grit ceramic stone
Remove burr with the ruler trick
Final polish on the strop
This reduces the amount of time needed on the strop.
The downside is that ceramic stones require regular flattening.
Fast Sharpening Means Better Woodworking
Either way, most sharpening takes only a few seconds, and a more thorough sharpening that takes three or four minutes.
When sharpening is that quick and easy, you’re far less likely to neglect your tools—and you’ll rarely have to spend significant time away from actual woodworking.
Happy woodworking!
This post may contain affiliate links. If you make a purchase, we may receive a small commission.
Need some cool tools for your shop? Browse my Amazon Storefront for inspiration.