
EASY ROUTER TABLE FINGER/BOX JOINTS
With a few scraps of wood, a straight router bit, and a simple indexing pin, you can turn a compact router table into a surprisingly accurate finger joint machine. This easy DIY jig makes strong, clean box joints for drawers, boxes, and cabinets—without buying an expensive dado set or specialty jig.
This post contains affiliate links. If you click or make a purchase, we may receive a small commission.
On Tuesday, I gave you the steps to make an inexpensive, compact router table from a few scraps of wood and a little trim router.
In this article I will walk you through how to use it to make flawless box — or finger — joints using stuff you probably already have: just a few scraps of wood and a straight router bit.
With this, you’ll be able to make sturdy drawers, boxes, and even cabinets — proving that fine craftsmanship does not have to cost a lot of money.
From Simple Jig to Compact Router Table
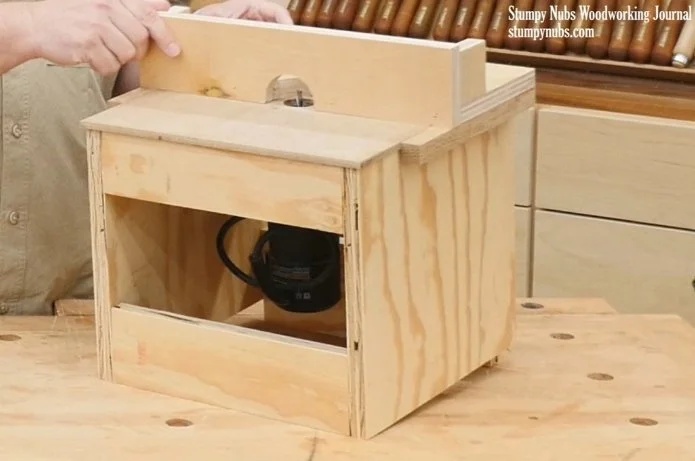
I wanted to keep this simple. My initial plan was to make a jig that just attached to the base of an inverted handheld router. But then I started thinking about how you would hold that securely as you worked.
So I built a simple box around it, and before I knew it, I had a fully functional, compact router table that could do a lot more than just cut finger joints.
In the last article, we walked through the router table build. There are no plans to buy — all the details are in that article and video. Check it out, because the key to cutting finger joints is in the sliding fence I designed for that table.
If you were one of those wondering why I designed it the way I did, you’re about to find out.
In this article, I’ll take that fence, add a couple more pieces, and transform it into a finger joint jig that will not only work with the compact router table, but can also be used on a full-sized router table if you have one of those in your shop.
I’ll explain how to do both — so no matter who you are, this will really up your woodworking game.
Router Bits: Keep It Simple
Let’s talk router bits.
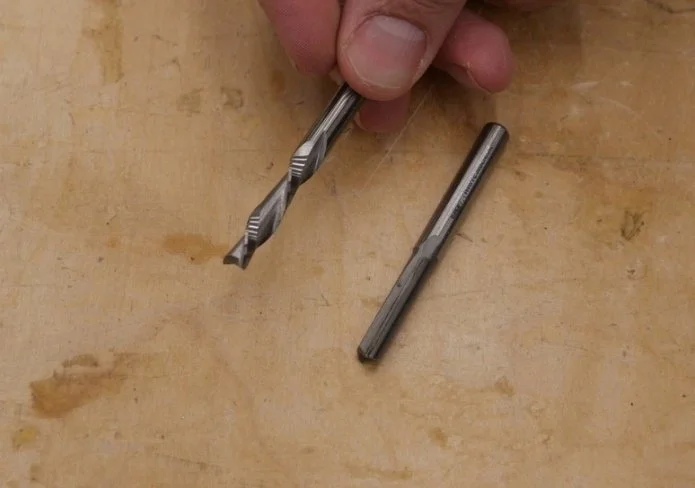
I don’t want you to have to buy anything special. I used a 1/4-inch spiral bit, but a simple straight bit will work just fine. It doesn’t even have to be 1/4-inch. A 3/8-inch or even a 1/2-inch bit will work — you’ll just get chunkier-looking fingers.
And of course, this works with any metric equivalent.
Building the Finger Joint Jig
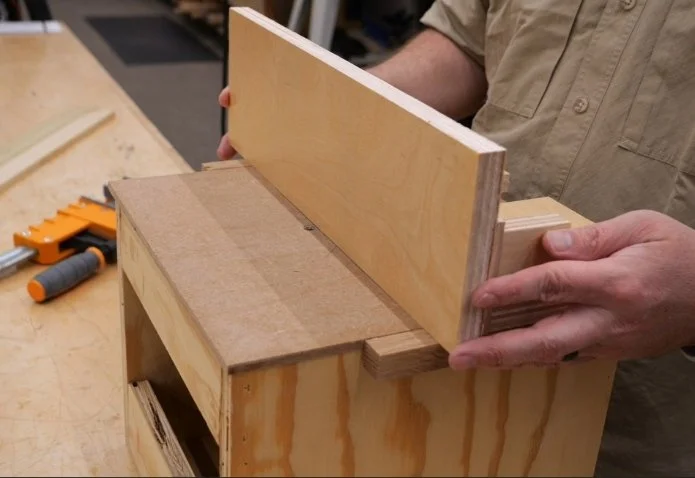
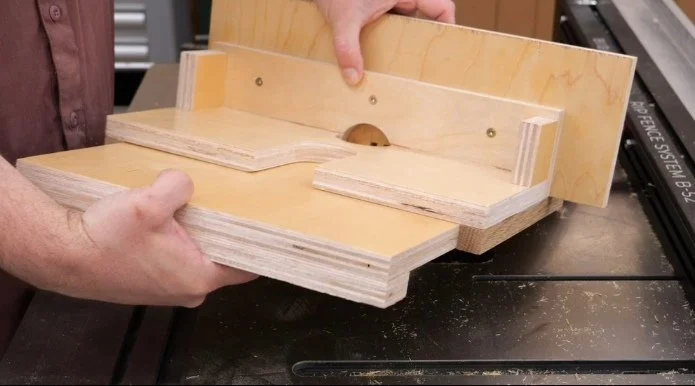
I’ve got a piece of plywood that’s a couple of inches longer and slightly taller than my router table fence. I clamp it in place and, with my bit raised a little less than 1/4-inch high, I slide the fence forward to cut a kerf all the way through the panel.
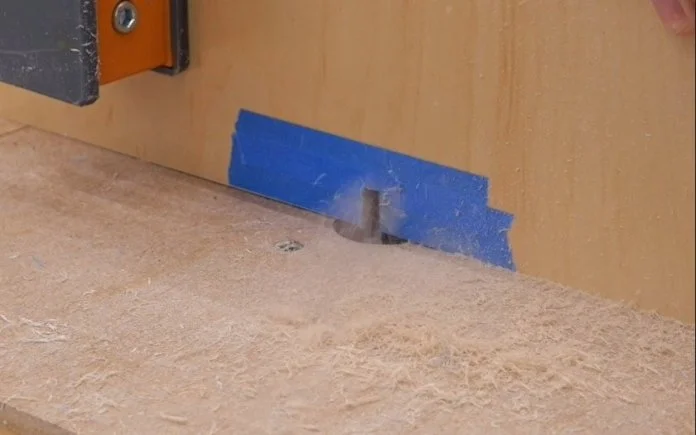
(The tape is just there to keep the veneered plywood from splintering.)
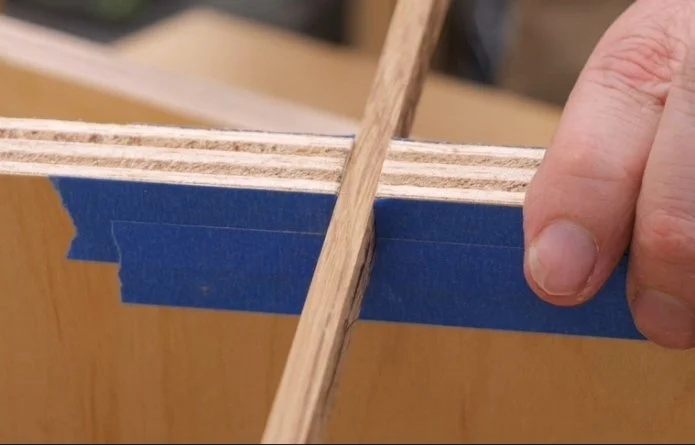
Now I carefully cut a strip of hardwood that fits into the kerf. Not so tight that I had to bang it in — just a good friction fit. The strip was long enough that I could cut it into a few three- or four-inch-long pieces. (You really only need two, but it’s good to have extras in case you mess up.)
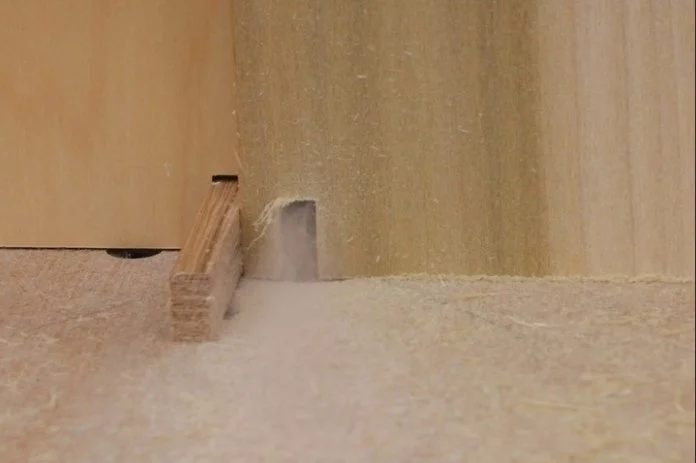
One of these pieces gets glued into the kerf as an indexing pin. Make sure it’s perpendicular to the face of the panel.
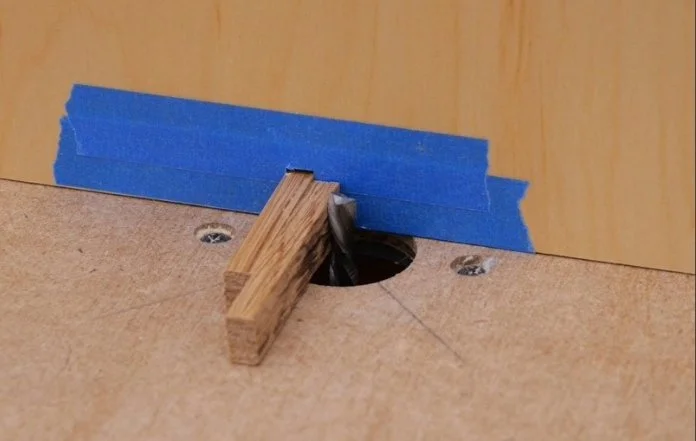
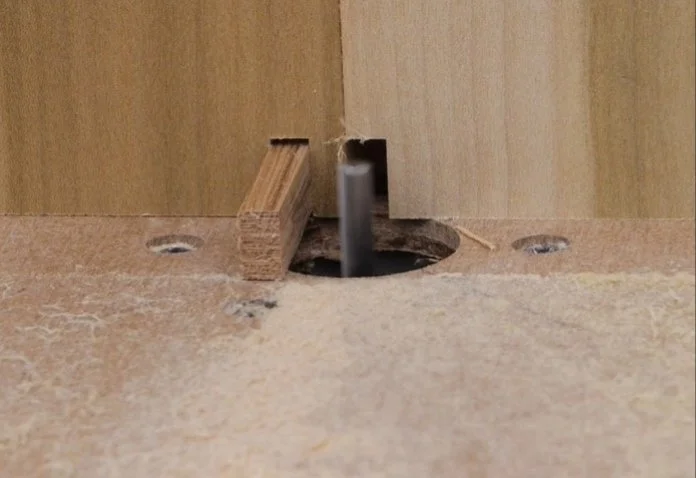
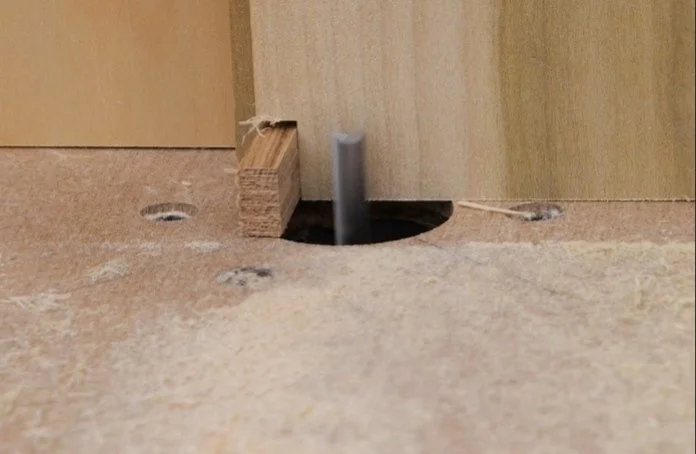
Once it’s dry, return the panel to the front of the fence and use another piece of your wood strip as a spacer between your router bit and the indexing pin. Rotate the router bit with your fingers to make sure the spacer is against the widest point of the cutting wings.
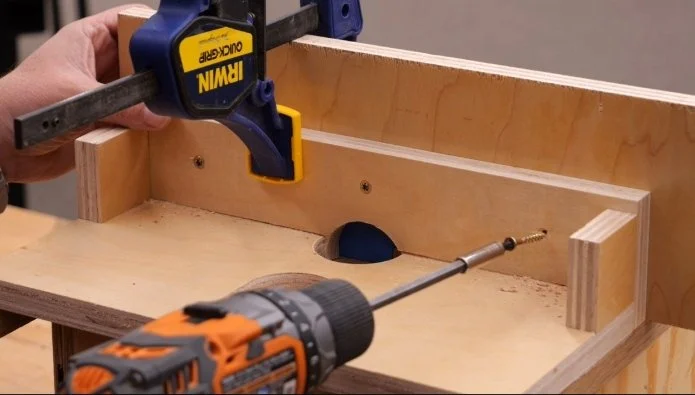
Clamp the panel in this position and drive two or three screws from the back side of the fence to secure the panel permanently.
You now have a finger joint jig.
How to Use the Jig
Adjust the bit height to slightly above the thickness of the workpieces you wish to join.
Place the edge of your first workpiece against the indexing pin and make a cut all the way through it and your fence panel.
Rotate the workpiece 180 degrees and slip it over the indexing pin. Place the edge of the mating workpiece beside it and make another cut.
Rotate the first workpiece back to its original position and slip it over the indexing pin again. Place the second workpiece in front of it, up against the indexing pin, and make another forward cut — going through both pieces.
Now you can advance forward, cutting both mating workpieces at the same time. After each cut, simply move the newest kerf over the indexing pin.
Be sure to blow away any sawdust that builds up along the fence so the workpieces can fully seat on the router table.
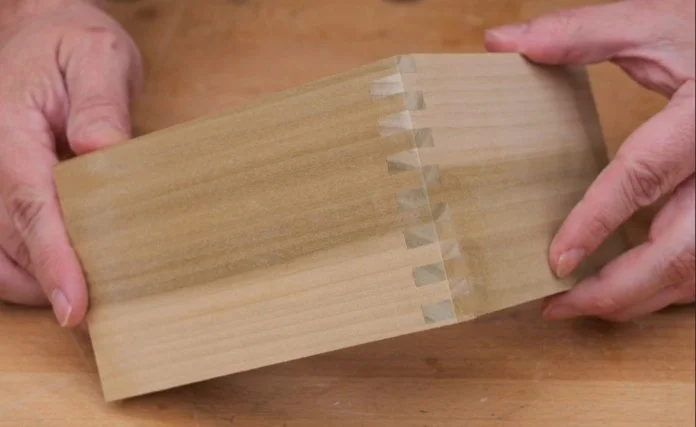
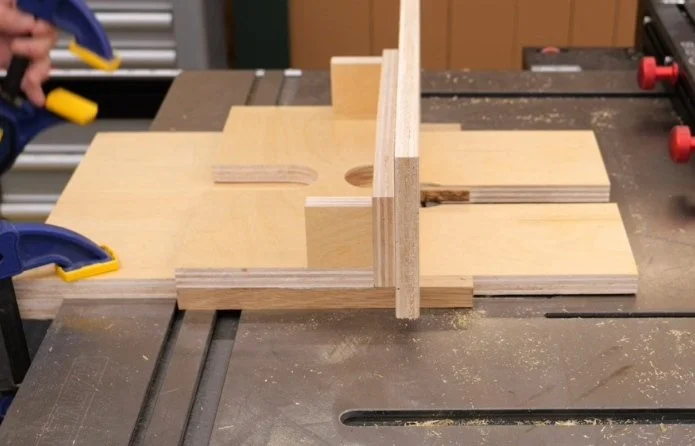
Each cut indexes the next one until you have fingers across the entire width of both mating workpieces.
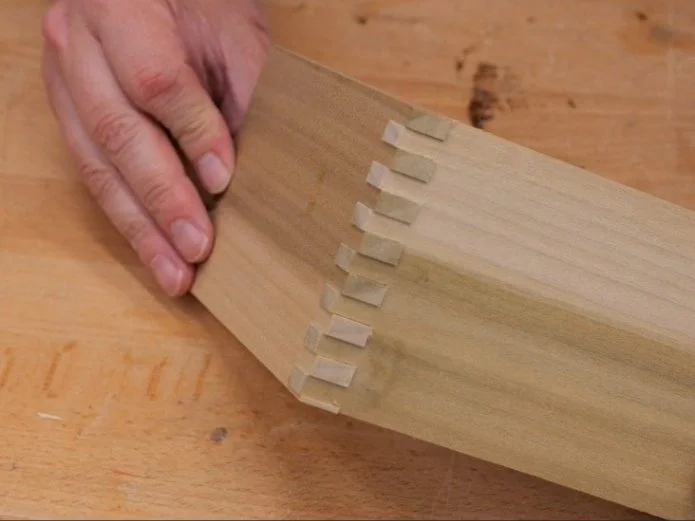
If you built your jig carefully, the fingers should fit together perfectly.
If they don’t fit, the problem is likely that you weren’t precise when setting the distance between the router bit and the indexing pin. If you made extra pins, grab another scrap of plywood and try again.
I’ve made several of these, and they all worked on the first try, so you shouldn’t have any problem.
And don’t forget — a little glue and some clamps can close up minor gaps in your joint.
Using This on a Full-Sized Router Table
I promised I’d show you how to do this on a full-sized router table as well.
I cut a piece of plywood that fits perfectly between the runners of my fence. (You’ll still need to build the fence if not the entire router table — instructions are here.)
I attached a strip of wood to one end as a cleat that rests against the front edge of my router table. The panel extends from there about 9 inches past the router bit. I also made a cutout to allow the bit to pass through.
Clamp the panel to your router table and follow the same steps as before:
Cut the slot for the indexing pin
Glue in the pin
Use a spacer to set the exact distance between the bit and the pin
This version works the same way as the compact one.
The only trick is realigning it with the router bit the next time you use it. I managed to do it by eye, but it wouldn’t hurt to scratch a small reference mark on the front edge of your router table to make positioning easier in the future.
Practically Free — and Extremely Capable
That’s it.
An entire router table and a finger joint jig that costs you essentially nothing — since we used scraps of wood and simple tools you probably already have.
Happy woodworking!
This post may contain affiliate links. If you make a purchase, we may receive a small commission.
Need some cool tools for your shop? Browse my Amazon Storefront for inspiration.