
MAKE PLYWOOD LOOK LIKE HARDWOOD
Plywood is stable and affordable, but its exposed edges can ruin the look of a project. This method uses a simple V-groove router bit to add solid hardwood edge banding that’s tougher, cleaner, and more durable than iron-on veneer.
Hardwood-veneered plywood is a great option for large furniture panels because it’s far more stable than solid wood. The problem is the edges—they look terrible.
The most common solution is adhesive-backed edge banding. And while that works fine, it isn’t perfect. Over time it can delaminate, and the thin veneer can chip or peel away. In many cases, it’s better to make your own solid hardwood edge banding.
You can buy specialty router bit sets designed specifically for this job, but today I’ll show you how to do the same thing using a common V-groove router bit. Let’s get started.
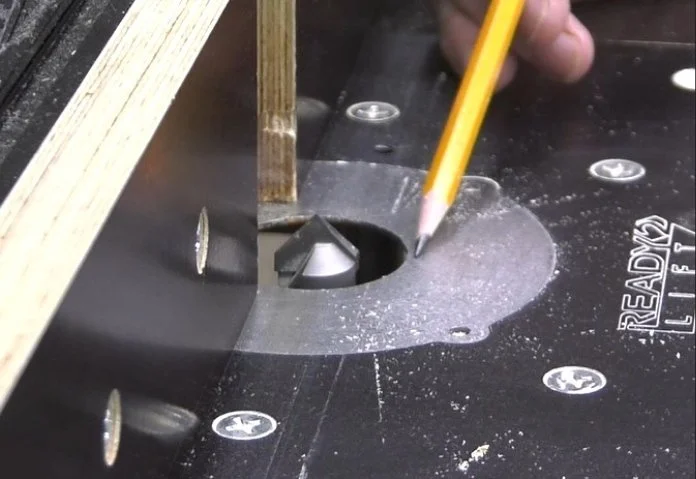
Cutting the V-Groove
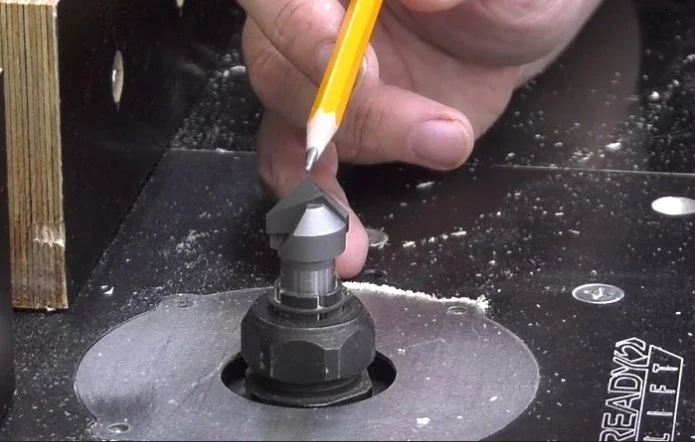
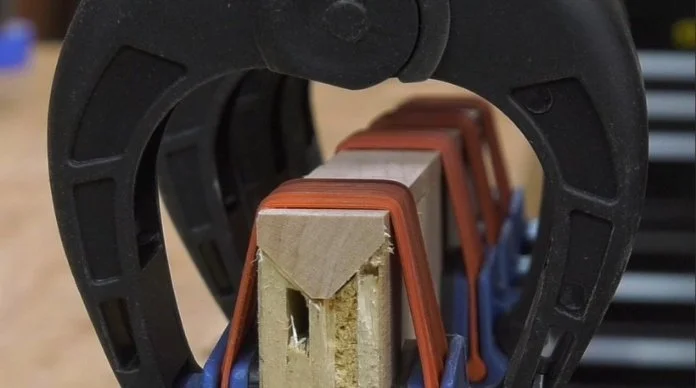
The key to this technique is centering the V-groove on the edge of the plywood.
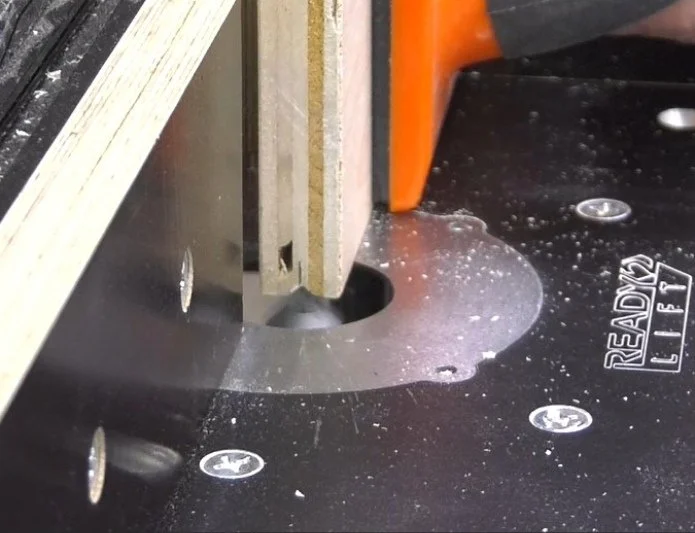
If you miss the center on your first pass, don’t worry—you can correct it on the next pass by adjusting the fence slightly before the bit reaches its full height. This allows you to sneak up on a perfectly centered groove without ruining the edge.
Once the fence is properly aligned and the bit is at the right height, you can now run all edges for your entire project.
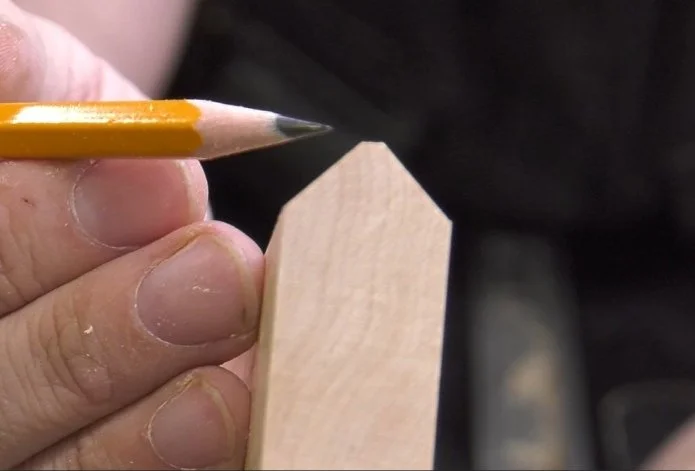
Cutting the Edge Banding
Lower the bit so the shoulder is level with the table. This allows the bit to cut at it’s full angled height. Then move the fence to conceal most of it. Start with about 3/16” of an inch showing.
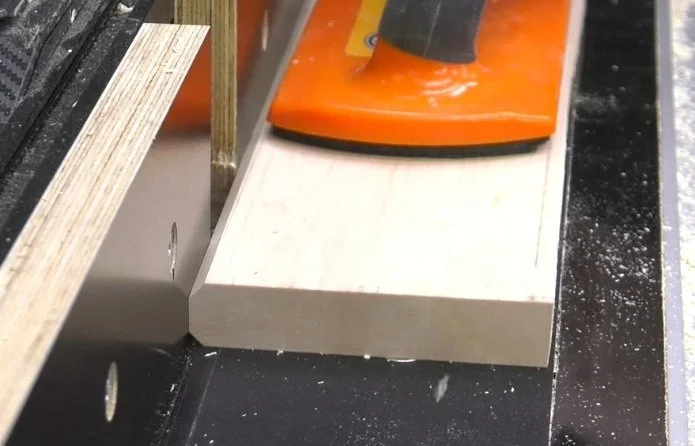
Then run the workpiece through on both faces. After each set of passes, move the fence back, exposing a little more of the bit. This will gradually sharpen the edge until the points meet in the center. I like to end up with a slight flat on the edge because it gives a little room for glue.
Gluing and Trimming the Banding
Once the groove is cut, glue the hardwood banding in place and allow it to dry fully.
After the glue has cured, trim the banding flush at the table saw. When you’re done, the edge will look just like a solid wood panel—and no one will ever know it started as plywood.
This simple technique produces durable, long-lasting edges that look better and hold up longer than iron-on veneer banding, all without buying expensive specialty tooling.
This post may contain affiliate links. If you make a purchase, we may receive a small commission.
Need some cool tools for your shop? Browse my Amazon Storefront for inspiration.