
TIPS AND TRICKS FOR CHOOSING AND USING WOODWORKING DRILL BITS
The right drill bit can mean the difference between a clean, accurate hole and a chewed-up mess. This guide covers the six types every woodworker should know—plus pro tips for when and how to use each one for flawless results.
In its simplest form, woodworking is a lot of cutting shapes and boring holes. To work at an acceptable level, you must cut and bore accurately. We've made plenty of cutting videos—but very few about boring. That changes today!
In this post, we’ll discuss the six types of drill bits every modern woodworker is likely to encounter. We’ll go over the pros and cons of each, when to use them, and how to get the best results.
We'll cover:
Twist bits
Brad point bits
Forstner bits
Spade (paddle) bits
Countersink bits
Self-centering bits
Twist Drill Bits
Twist bits feature flutes that spiral down the length of the shaft, terminating in a semi-blunt point at the end. That’s where the cutting occurs. The flutes are designed to lift chips out of the hole as you drill, and efficient chip clearing is critical—it keeps the bit cool so it doesn’t dull prematurely.
Smaller bits don't clear chips as well as larger ones, so you may need to periodically withdraw the bit to keep things cutting smoothly.
Twist bits are often used in both metal and wood, and come in several varieties:
Black oxide: Heat-treated for durability but not ideal for metal.
Titanium-coated: High surface hardness, better for working with standard steel.
Cobalt: Designed for hardened steel.
So why mention metal in an article about woodworking? Because every woodworker eventually needs to drill metal—and twist bits are the go-to for that task in my shop.
I don’t use twist bits often in wood because their blunt points aren’t ideal for such a soft material. Unless very sharp, they don’t enter cleanly. Larger bits can “walk” across the surface before biting in, making precise hole placement difficult—especially at an angle.
Tip:
If twist bits are all you have, you can improve your results by boring a pilot hole with a small bit first, or even by running the drill in reverse briefly to burnish the surface fibers before cutting.
Brad Point Bits
For woodworking, I prefer brad point bits. These feature a sharp center point for precise positioning and outer spurs that sever surface fibers before the flutes remove material.
However, not all brad point bits are created equal. Cheap bits may have off-center tips or dull spurs, which can still tear fibers and cause tear-out. For clean holes, invest in quality.
Tips for using brad point bits:
Enter the cut slowly to let the spurs sever fibers cleanly.
Slow down before exiting the hole to minimize tear-out on the back side.
While premium bits give the best results, even budget-friendly ones can work if you're careful.
Limitations:
Not great for angled drilling because the point must be in contact with the wood, before the spurs.
Struggle to enlarge existing holes due to the center point.
Spade (Paddle) Bits
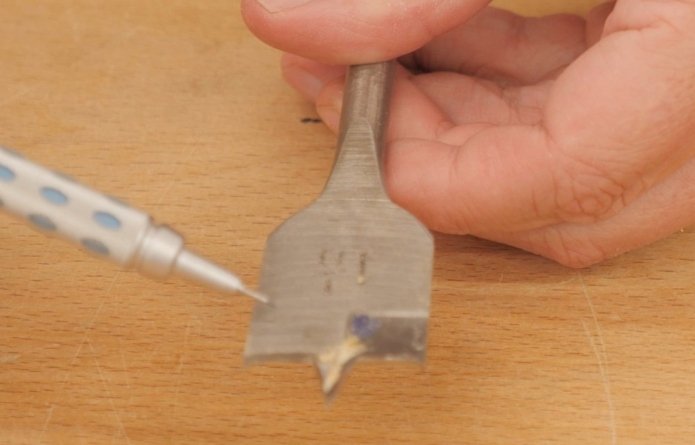
For holes larger than 1/2 inch, many turn to spade bits. They’re inexpensive, widely available (1/4" to 1-1/2"), and easy to use. They feature a center point and corner spurs for guiding and severing fibers.
Cheaper versions have simple angled cutting edges. Higher-end ones feature more aggressive hooks for faster cutting.
I mostly use them in construction projects or when I don't want to dull my Forstner bits.
Downsides:
Heat up quickly—slow down to avoid dulling.
Cause blow-out on the exit side.
Tip:
Let the center point poke through the bottom, then finish the hole from the other side for a cleaner exit.
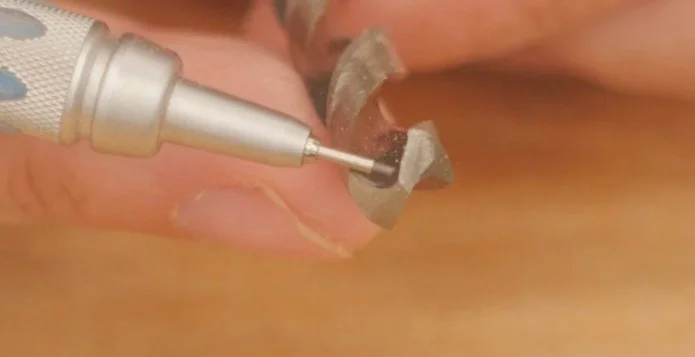
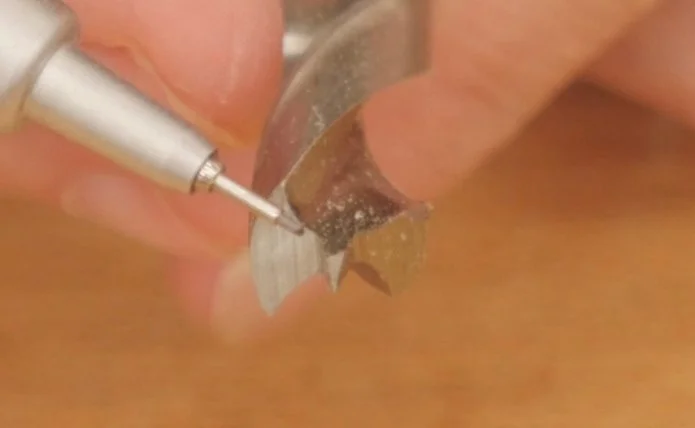
Forstner Bits
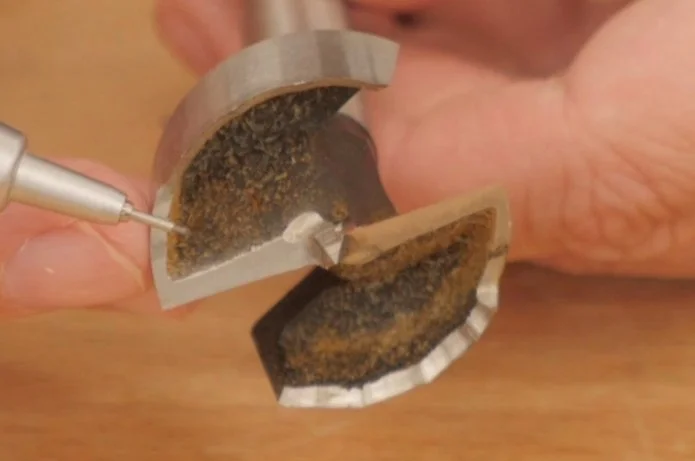
Forstner bits are the gold standard when hole quality matters.
They feature:
A sharp point for starting.
A circular rim that scores the perimeter.
Cutters that remove the interior material.
They produce flat-bottomed holes and can overlap holes, making them great for removing waste in mortises. Some can even drill at an angle (within reason).
Watch out for:
Poor-quality bits heat up fast and dull quickly.
Heat is the enemy—periodically lift the bit to clear chips.
Match the drill speed to the bit size to avoid overheating.
We have a full video breaking down different Forstner bit styles.
Countersink Bits
If you work with screws (and who doesn’t?), get a couple of quality countersink bits.
They do two things:
Drill a pilot hole the same size or slightly larger than the screw shaft.
Create a cone-shaped recess so the screw head sits flush.
Poor-quality cutters will tear fibers rather than cutting cleanly—so again, buy good ones.
It helps to have a few sizes if you use different screw types.
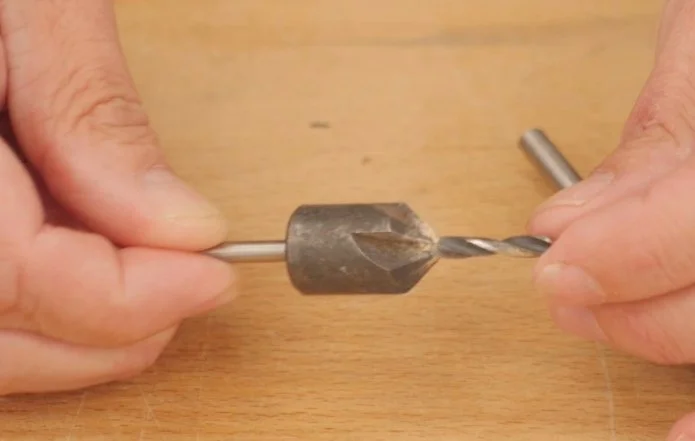
Self-Centering (Vix) Bits
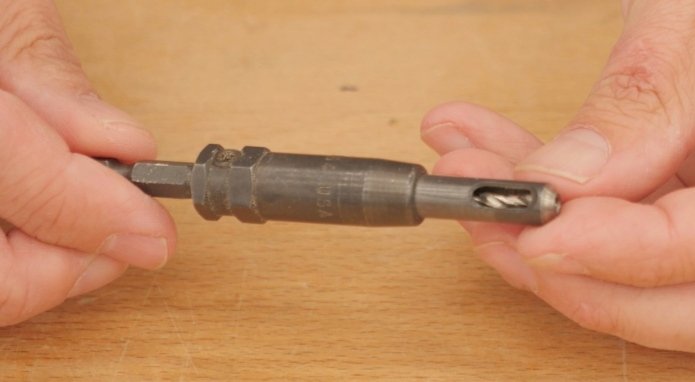
These are a favorite of mine. Designed with a spring-loaded, tapered sleeve, these bits automatically center themselves in the holes of hinges or brackets.
Why does that matter? Because if the pilot hole isn’t centered, a tapered screw will shift the hardware out of position as it's driven in.
Tip:
You must keep the drill perpendicular to the wood for the centering to work. Even a slight tilt will result in an off-center hole.
Have more than one size on hand if you use multiple screw types.
Final Thoughts
Those are the six drill bit types most woodworkers will encounter in a modern shop—plus tips to get the best results from each.
See you next time, and happy drilling.
This post may contain affiliate links. If you make a purchase, we may receive a small commission.
Need some cool tools for your shop? Browse my Amazon Storefront for inspiration.