
THE SECRET TO CUTTING COMPLEMENTARY CURVES
Complimentary curves let you join two contrasting pieces of wood with a flawless, flowing seam—but cutting them perfectly is trickier than it looks. This guide walks you through a simple template-and-router method that delivers gap-free results every time, opening the door to endless creative woodworking projects.
Several years ago, I made a video about creating complimentary curves with a router. A lot of people were very complimentary about that video. Others, however, were a little confused—particularly about swapping the bearings on their router bits. As it turns out, the bit and bearing combination I used in that video isn’t available anymore.
So, I’ve decided to revisit the concept from that video, showing a similar method but with readily available bits. This is such an amazing technique with so many creative uses that you’re definitely going to want to know about it.
What Are Complimentary Curves?
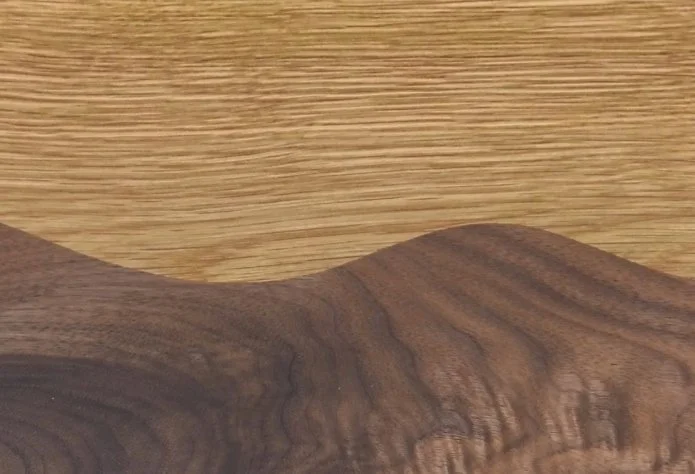
Complimentary curves are two curvy lines that mate together perfectly. It’s a fantastic way to use contrasting species of wood—or different stain and dye colors—to create unique effects.
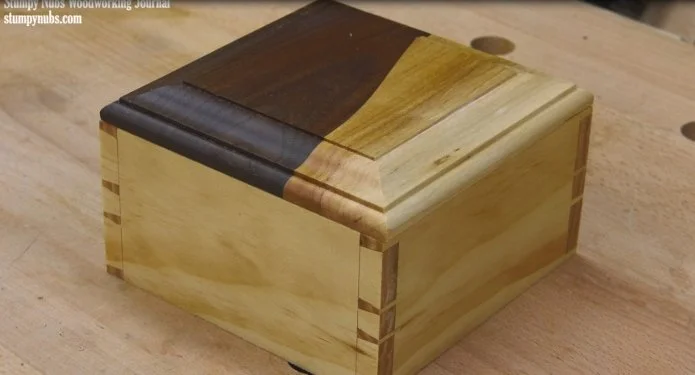
The panel from my first video, for example, later became a box top. Others have used this technique to create beautiful doors, drawer fronts, wall plaques, cutting boards—you can even apply it to curved mouldings.
Why Cutting Matched Curves Is Tricky
Cutting two curves that fit precisely together isn’t as straightforward as you might think.
If you cut the two curvy edges separately, you’ll be sanding and fitting all day trying to eliminate hairline gaps in the seam between them.
Stacking the pieces and cutting them at the same time might seem like the obvious solution—until you realize the width of the blade kerf changes the radius on one side of the curve compared to the other. That leads to visible gaps along the slopes.
For a perfectly tight seam, you’re better off using a set of router templates and flush-trim bits. Creating those templates is the trick I want to show you today.
Step-by-Step: Creating the Templates
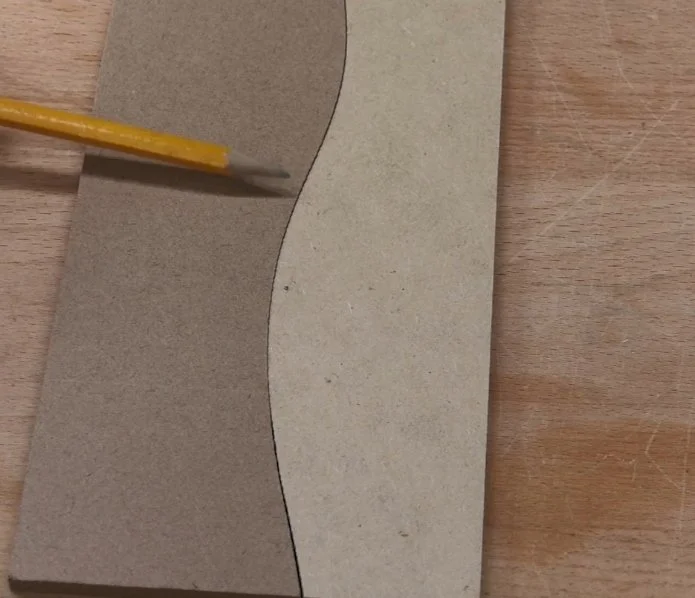
Start with a Master Template
Lay out your curvy edge on some template material and cut it out. You have room for error on this first master template, so concentrate on cutting smoothly—even if you have to drift away from your line a bit. Take your time to sand away any bumps or flat spots after using the band saw. This is really important because the quality of your template determines the quality of your workpiece.
Tip: I make my templates wider than the actual workpiece. By leaving an extra inch hanging off each end, you allow the router bit to enter and exit the cut smoothly.
Prepare Your Workpieces
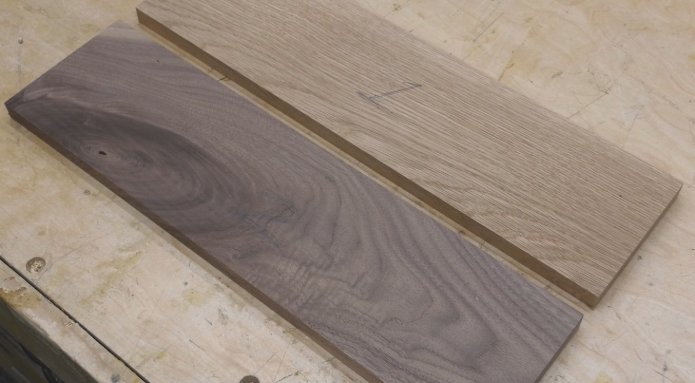
Lay out the two workpieces you wish to join. Mark the top piece with a #1 and the bottom with a #2.
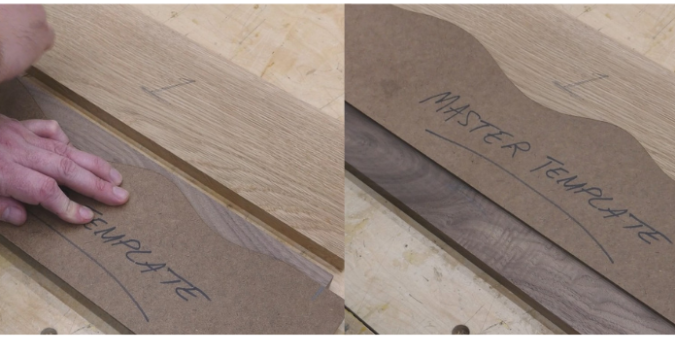
Place your master template on workpiece #2 and trace it with a pencil. Then move it up to workpiece #1 without flipping or rotating it and trace it again. This outlines the waste material that must be removed so the pieces fit together. Cut away the bulk of it at the band saw, staying about 1/16 inch away from your lines. The rest will be trimmed with a router.
Making the Working Templates
To get the curves to match perfectly, we’ll turn the master into two working templates:
Create A & B Templates
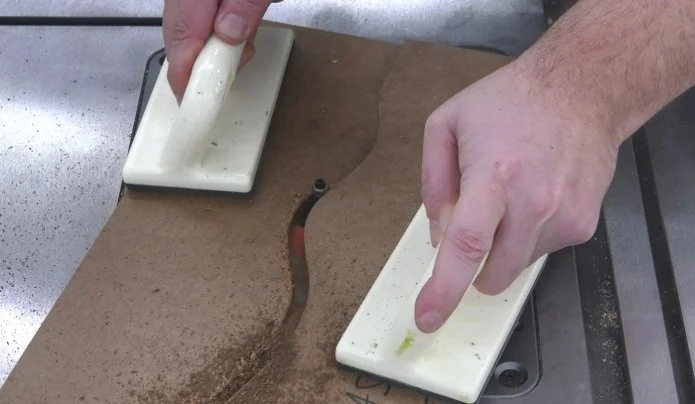
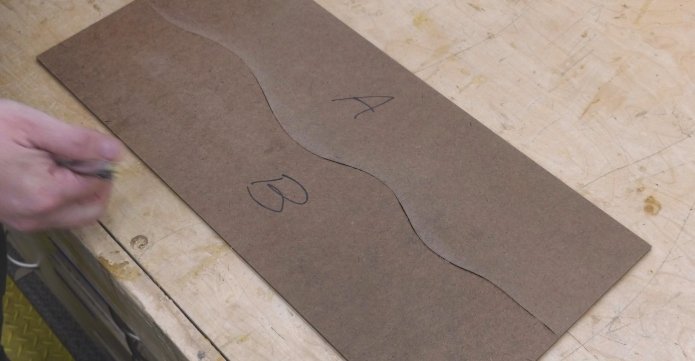
Use double-stick tape to attach the master template to a second piece of template material that’s about twice as wide. Use a 3/8-inch flush-trim bit to carefully follow the master’s edge, cutting the lower piece in half.
Label the top half "A" and the bottom portion (the one beneath the master) "B." These are your working templates—set the master template aside now.
Understand the Kerf Gap
While templates A and B are mirror images, they won’t fit together perfectly due to the 3/8-inch kerf the bit cut between them. We’ll account for that when we use them on the actual workpieces.
Routing the Workpieces
Workpiece #1
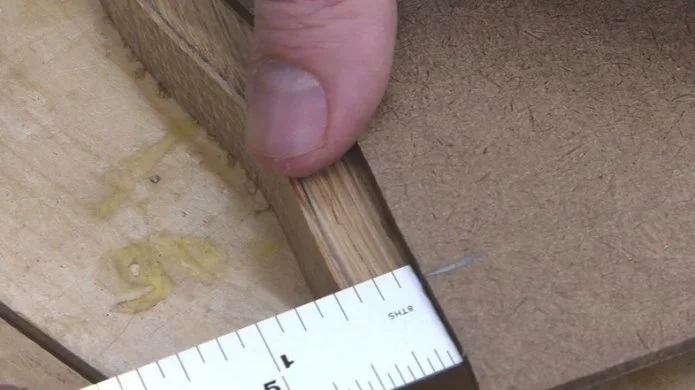
Use double-stick tape to secure template A to the top of workpiece #1. Position the template 3/8 inch back from the pencil line. Check both ends carefully before pressing it down.
Now swap the bearing on your 3/8-inch router bit to a 1-1/8-inch bearing. You can find some cheap but effective bits here and bearings here.
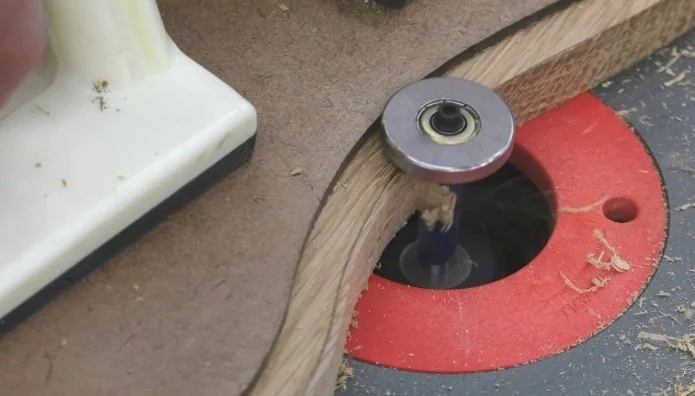
By offsetting the template and using an oversized bearing, you cancel out the kerf and place the cut exactly back on your original line.
After routing, make one or two extra passes to be sure all the waste is removed.
Workpiece #2
Attach template B directly to the pencil line—no offset needed this time, as you’ve already compensated for the kerf on workpiece #1.
Swap the bearing back to the one that came with the bit. (Don’t forget to unplug the router to keep your fingers safe!) Route the edge, and again, make an extra pass to ensure everything is clean.
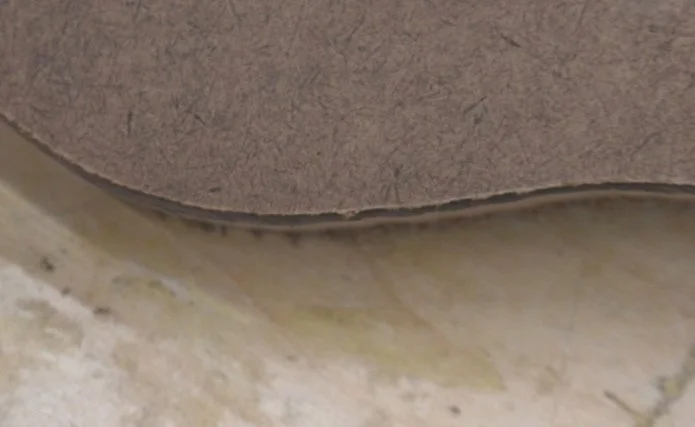
The Final Result
Remove your templates, and you should have a perfect match.
I really think you should try this at least once. You’ll likely find it a lot easier than it looks, and the creative possibilities are nearly endless.
Happy routing!
This post may contain affiliate links. If you make a purchase, we may receive a small commission.
Need some cool tools for your shop? Browse my Amazon Storefront for inspiration.