
HOW TO MAKE HARDWOOD EDGE BANDING LOOK GOOD
Learn how to make your own hardwood edge banding for a perfect match and long-lasting durability. Tips for prep, glue-up, trimming, and tear-out-free results.
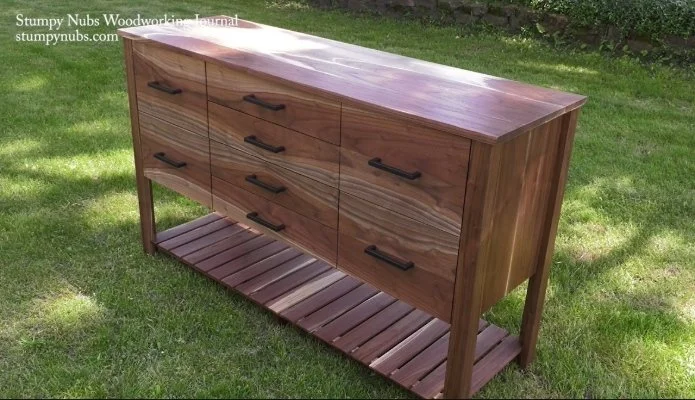
A lot of folks use iron-on banding to cover the edges of plywood panels, and I do a fair amount of it myself. But off-the-shelf edge banding isn’t right for every project. Take the above walnut credenza, for example. Sure, you can buy walnut edge banding, but it may not match the solid walnut lumber you're using for the rest of the piece.
The solution is to make your own edge banding, and in this article I’ll share a few tips to help you do it cleanly and efficiently.
Make It Thick
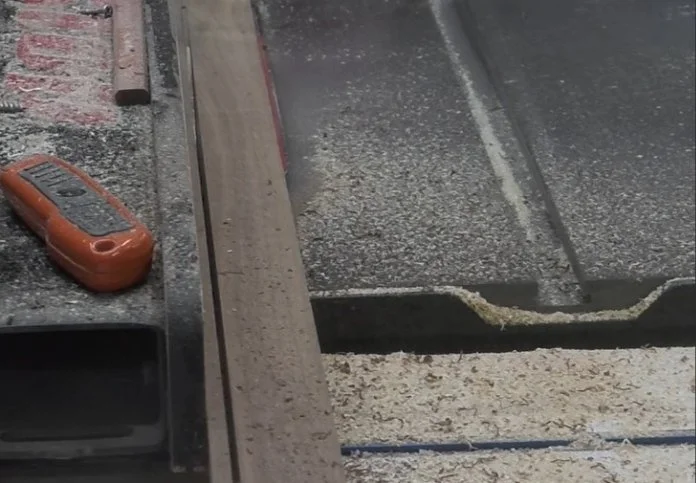
Cutting hardwood edge banding.
Most commercial edge banding is very thin, and thin banding is more likely to chip off over time. I prefer to make mine about ¼-inch thick. This creates a much more durable edge that can take real use and wear.
Prepare Your Surfaces
To get a seamless joint, both the hardwood strip and the plywood edge need to be perfectly smooth. That means sanding or planing the mating surfaces before gluing. A drum sander is great if you have one, but it’s not required. A high-quality table saw blade and proper technique will produce glue-ready surfaces.
You may want to use two blades:
An 80-tooth blade for clean cuts across plywood grain
A 40-tooth ATBR blade for clean rips on hardwood
If the plywood edge feels a little rough, sand it lightly using a stiff sanding block so you don’t round over the edge.
Apply Glue Correctly
You don’t need much glue—this isn’t a structural joint—but you do want full, even coverage all the way to the edges.
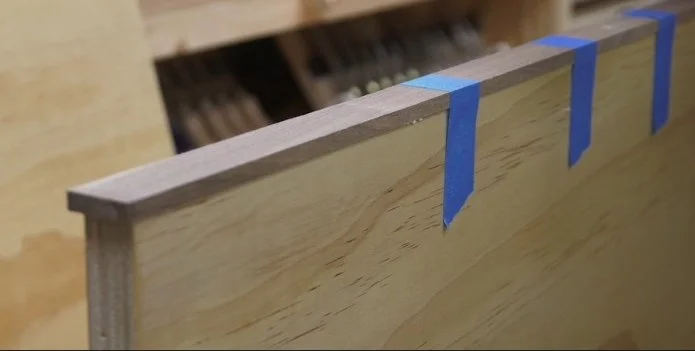
Because the banding is thick and the surfaces are well-prepared, you don’t need clamps. Simple blue painter’s tape works great and is much faster and easier.
Trim it Flush
Cut your edge banding slightly wider than the thickness of the plywood. After the glue dries, you can trim it perfectly flush.
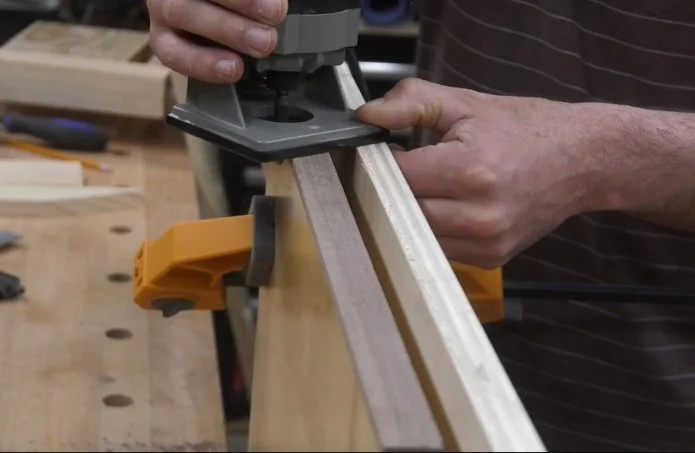
To do this, I use a simple jig made from two pieces of narrow plywood. Clamp it so the higher surface supports the router base and keeps it from tipping while you flush-trim the excess.
Pay Attention to Grain Direction
This is important. When routing the banding flush:
On one side you’ll move the router left to right
On the opposite side you’ll move right to left (a controlled climb cut)
Since you're removing very little material, a climb cut here is safe and it helps prevent tear-out.
If you cut against the grain, you risk splintering the edge banding, and that will definitely ruin your day.
Final Thoughts
Making your own edge banding is simple, cost-effective, and ensures a perfect color and grain match with the rest of your project. With a clean surface, the right blade, and careful trimming, you’ll get a professional-looking edge that’s built to last.
This post may contain affiliate links. If you make a purchase, we may receive a small commission.
Need some cool tools for your shop? Browse my Amazon Storefront for inspiration.