
A FASTER METHOD FOR PREPPING AND SHARPENING CARD SCRAPERS
If card scrapers frustrate you, this quick sharpening method will change everything. In just two minutes, you’ll get a perfectly polished edge and a clean, consistent burr that produces real shavings instead of dust.
A lot of new woodworkers hear about card scrapers and think, “Great! I’ll never have to sand again!” Then they try one, and it doesn’t work out—because they can’t get it properly sharpened and prepped. All they get is dust instead of nice, wispy shavings. The scraper ends up in a drawer, and they’re back to sanding all the time.
I like card scrapers. They really save me a lot of sanding, and I’m not a fan of sanding. So it’s important to me to show people how to sharpen and use them. I’ve had methods I used in the past, but a couple years ago I learned a new one. Mike Taylor over at Taylor Tools came up with what I think is a game changer, particularly for new card scraper users. Seriously, whether you like using card scrapers or not, this kit may make you love them again.
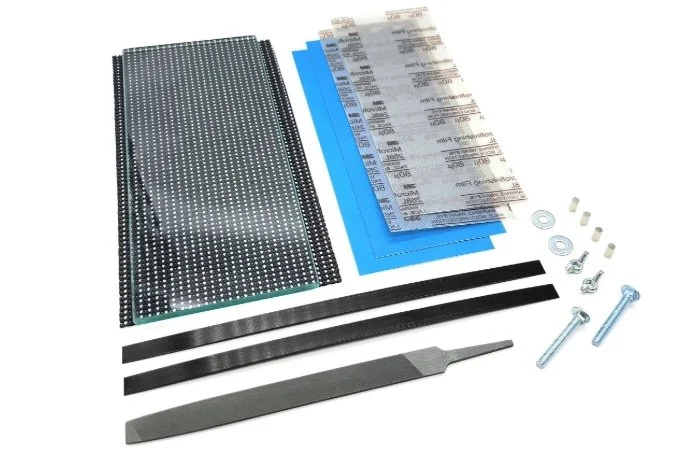
It’s a piece of plate glass with fine sandpaper on one side and finer honing film on the other. You also get a small hardware pack so you can make your own vise, a magnetic holder, a file, and two ultra-thin metal rules.
There’s a video on the Taylor Tools website that shows you how to make two jigs from scrap wood. The video is located at the bottom of the linked page.
In this article, I’m going to walk you through how to use this kit to prep a scraper in two minutes or less.
Step 1: Clean Up the Edge
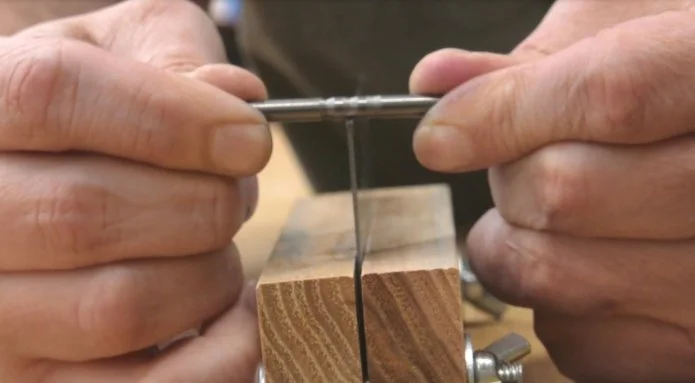
First, you need to clean up the edge. I place the two metal rules on the glass, slip the card into the vise, and then rest the vise on the rules. The scraper’s edge should touch the glass, then you can tighten the vise. This is a quick way to set the scraper's edge just above the vise surface.
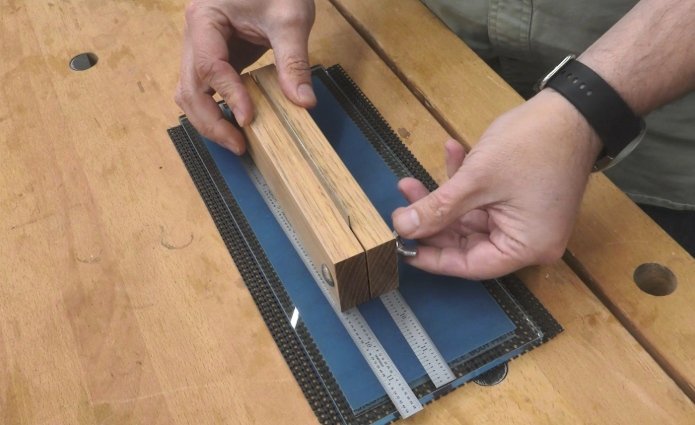
Next, I clamp the whole setup into my bench vise. If you don’t have a bench vise, make your wooden one with a couple of tabs so you can clamp it to your benchtop and skip the large vise altogether. The point is to hold everything steady as you run your file over the edge a few times until you see shiny new metal along its length.
Step 2: Sand and Polish
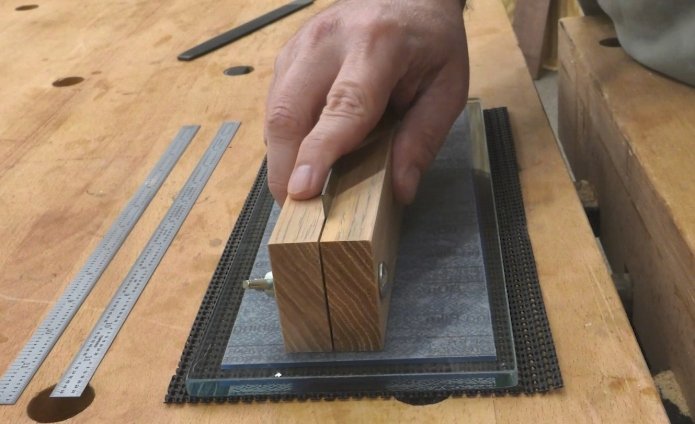
Then I flip it over and run the edge on the fine sandpaper side of the glass a few times until all the file marks are gone. After that, I polish it with a few strokes across the extra-fine lapping film on the other side of the glass.
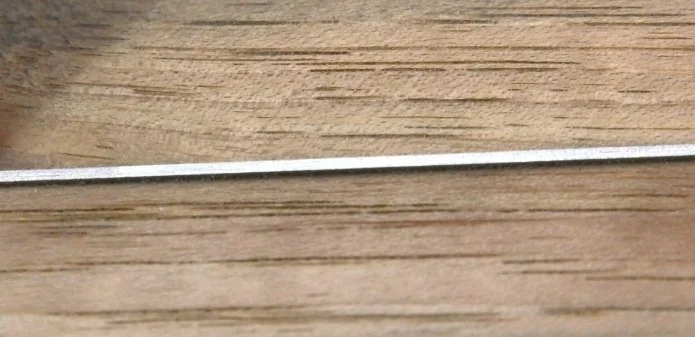
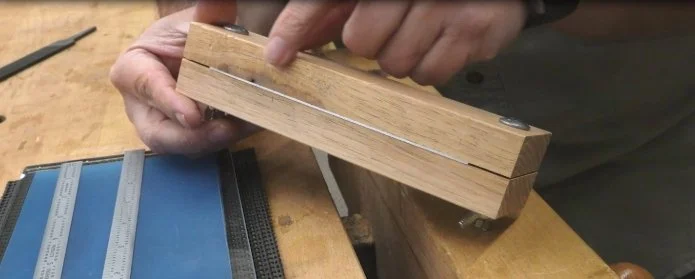
See how shiny the edge is? All the file scratches are gone. Now I take it out of the vise and run a Sharpie down both sides of the edge. This just helps gauge your progress on the next step.
Step 3: Polish the Edge

For this step, I lay one of the thin metal rules on the extra-fine honing film and snap the magnetic holder onto the card’s edge. This allows me to polish the edge with light pressure. The rule holds the scraper at a slight angle so all the work is done right at the cutting edge. You don’t need to remove all the black marker—just look for a shiny strip along the edge. Then flip it over and do the same on the other side.
Now the scraper edge is perfectly smooth and square, and we’re ready to roll the hook.
Step 4: Roll the Hook
Any burnisher will work, but I’ve become partial to the Accu-Burr burnisher because of its unique shape—it forms a burr on both sides of the card at the same time, with no need to tilt it to a specific angle. I just apply a drop of oil, hold it parallel to the floor, and take two or three strokes with firm pressure.
That’s it. You will have a hook on both sides.
Because I prepped and polished the edge before rolling the hook, it’s consistent and continuous with no chips or imperfections. That means it works properly and will last much longer than a poorly prepared scraper edge.
The Result: Fine Shavings, Not Dust

That’s what you want—fine shavings, not a bunch of dust. If you’re getting shavings like that, you’ve got a card scraper that’s easy to use, easy to maintain, and you’ll be doing a lot less sanding on your next project.
I’ve tried a lot of different methods to sharpen a scraper, but this is hands down the fastest and most consistent way to get great results you can’t mess up. And it only takes me about two minutes—fast and easy enough that you won’t dread doing it.
Also, keep in mind: you can usually reform the hooked edge with just the burnisher once or twice before it weakens and breaks off. Then you’ll need to go back through the filing and honing process. If you prep both edges on a couple of scrapers at a time, you can avoid resharpening for a long while.
Use the links below to check out the kit. Taylor Tools is a small, family-run business that comes up with great ideas like this—and they don’t charge an arm and a leg for them. Plus, when you support them, you support us too.
Scraper Prep Kit: https://lddy.no/1g240
Burnisher: https://lddy.no/1g245
This post may contain affiliate links. If you make a purchase, we may receive a small commission.
Need some cool tools for your shop? Browse my Amazon Storefront for inspiration.