
TABLE SAWS VS ROUTERS: WHICH CUTS THE BEST DADOS?
Woodworkers love debating whether routers or table saws are better for cutting dados and grooves—but the truth is both tools shine in different situations. By comparing setup, safety, cost, adjustability, and cut quality, you’ll see why the “best” tool really depends on the job at hand.
This post contains affiliate links. If you click or make a purchase, we may receive a small commission.
It’s weird how some woodworkers will fight to the death over whether a router or a table saw is the best tool for cutting joinery such as dados and grooves.
If you’re not familiar with the terms, dados and grooves are used to create strong connections between pieces of wood. You see them a lot in bookshelves, cabinets, and other furniture.
Table saw dado set vs straight router bit set in a router table. Click to enlarge.
Cutting these joints with a table saw requires a stack of special blades with lots of spinning teeth, while cutting them with a router requires a single spinning bit — either mounted pointing upward in a router table or pointing downward in a handheld router.
So which one makes more sense? Which method should you use?
Let’s compare them and see if we can settle this debate once and for all.

Setup
A router bit is faster and easier to install because it’s just one bit, compared to the several blades and chippers in a table saw dado set.
It does take a bit more fiddling to set up an edge guide if you’re using your router handheld — especially if you have to calculate the offset for half the width of the router base. But adjusting the fence on a router table is about as straightforward as adjusting a table saw fence.
However, many router dados must be cut in two passes, which requires careful fence adjustments. I’ll explain why in a moment.
Because of that, I’m calling this category a tie.
Adjustability
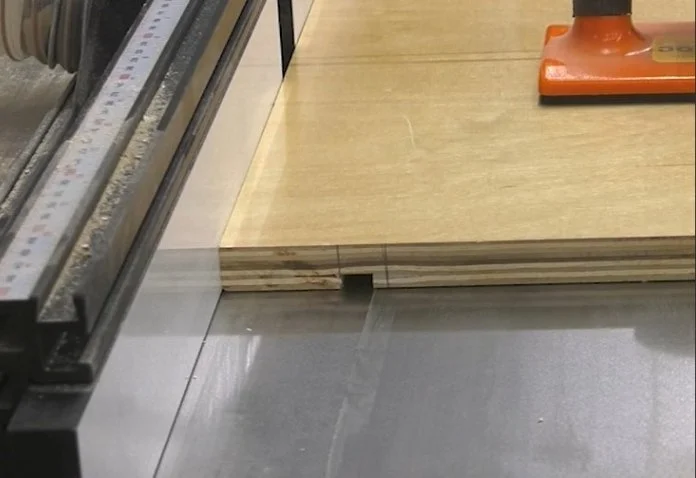
Dado sets are pretty much infinitely adjustable. Whatever the thickness of your material, you can customize your blade stack to cut a precisely sized dado in a single pass over the table saw.
A router bit, on the other hand, is not adjustable. And it’s not always easy to find a bit that perfectly matches your material thickness.
Take plywood, for example. These days it’s often metric or measured in odd fractions like 32nds. While you can buy specially sized plywood bits, there’s no guarantee they’ll match your plywood, because plywood thickness can vary quite a bit.
This can also be an issue with solid wood.
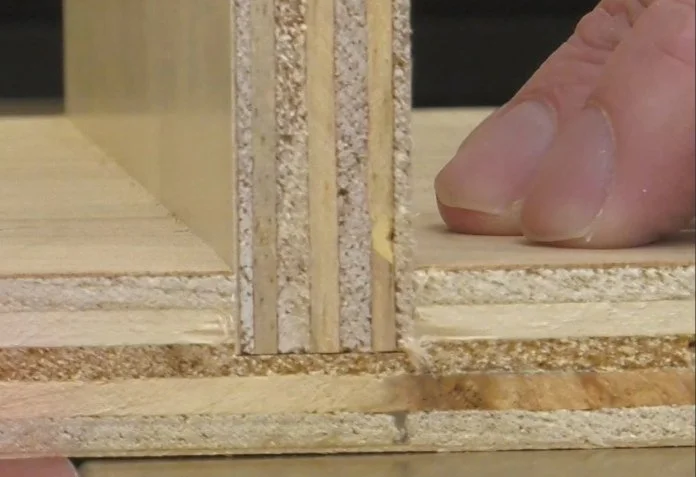
So if you want your dados and grooves to fit perfectly when using a router, you’ll often need to make two passes, adding extra setup and extra chances for error.
Winner: Table Saw
Safety
A table saw is a powerful tool, and all those spinning teeth make some people nervous. Some countries have even banned dado sets or made them difficult to use.
And it’s true — they’re powerful tools. Used carelessly, they can do serious damage. To make matters worse, dado sets usually require removing safety gear like blade guards and splitters.
But don’t fool yourself into thinking a router is perfectly safe either.
Routers are typically used without guards as well, and there’s no sewing back on what they remove.
However, the rotary motion of a router bit is less likely to cause a workpiece to bind and kick back toward you compared to a table saw blade, which is cutting toward your body.
I’m not saying routers can’t kick back — they absolutely can — but it’s generally less likely.
Winner: Router
Cutting Capacity
You may not be able to move your router table fence far enough from the bit to cut a dado near the center of a large panel.
A table saw fence, on the other hand, usually provides a lot more capacity — unless you’re using a small portable saw, which often doesn’t accept dado sets anyway.
Of course, neither a table saw nor a router table provides unlimited capacity.
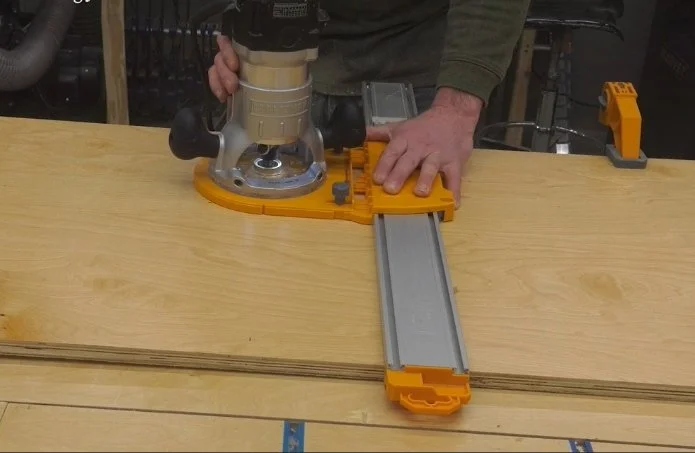
But a handheld router with an edge guide does.
I’ve cut huge workpieces this way. It’s loud and messy, but it gets the job done.
Winner: Router
Cut Quality
If we’re comparing a good router bit to a good dado set, both sharp and clean, the quality of the cut should be very similar.
Both tools can produce some chip-out, especially when cutting across the grain, though there are techniques to reduce that risk.
However, in my experience, the difference shows up as the tools dull.
Router bits dull much faster than dado sets. It’s not even close.
A dado set has many carbide teeth sharing the workload, while a router bit typically has only two cutters. Plywood in particular is very hard on router bits.
Because of this, there’s only a relatively short window where a router bit delivers cuts comparable to a dado set.
Winner: Table Saw
Cost
I’m not comparing the cost of a table saw to the cost of a router — this discussion is about the tooling required to cut dados and grooves.
Sure, you can buy cheap junk if you want, but I believe in the philosophy of buy once, cry once.
A good dado set will cost $200–$300, sometimes more.
Good straight router bits cost around $20–$30 each, more if you buy spiral bits.
That seems cheaper at first — but remember, you need multiple sizes:
1/4 inch
1/2 inch
3/4 inch
plus undersized plywood bits if you build cabinets
That’s already about $150 just for the basics, and router bits wear out much faster than dado sets.
Over time, you’ll replace router bits many times before a good dado set wears out.
So while dado sets seem expensive upfront, when you do the math, the long-term cost winner is the table saw.
Winner: Table Saw
The Final Score
Let’s add it up.
Router
Setup (tie)
Safety
Cutting capacity
Total: 3 points
Table Saw
Setup (tie)
Adjustability
Cut quality
Cost
Total: 4 points
So the table saw wins, right?
Not so fast.
The Real Answer: It Depends
We also have to factor in personal preference and the specific task.
Personally:
I like the router table for cutting one or two dados in small or medium workpieces when I have a bit that matches the material thickness. It’s just more convenient.
I prefer the table saw when making multiple cuts in medium or large panels, like cabinet parts.
And I like the handheld router with an edge guide for very large panels or long, narrow boards such as bookshelf sides.
In the end, the “best” method is simply the one that best fits the job and your workflow.
Happy woodworking!
Need some cool tools for your shop? Browse my Amazon Storefront for inspiration.