
THIS MAY CHANGE HOW YOU USE YOUR MITER SAW
Learn four essential miter saw tips that improve accuracy, reduce binding, and dramatically increase safety. From setting stop blocks to proper sliding cuts, these techniques help you cut cleaner and safer every time.
Miter saws are pretty essential tools these days, whether you’re working in a garage workshop or you’re mobile on a jobsite. I could easily make a much longer article full of miter saw tips and tricks—and I plan on doing that someday—but today I want to share four tips that will really make a difference the next time you cut something with your miter saw.
Read all four, then decide if these should be included in the manual with every miter saw sold.
Tip #1: The Most Accurate Way to Set a Stop Block
Let’s start with one of the most clever tips I’ve ever learned.
If you’re making multiple cuts of the same length, it’s common to attach a stop block to the fence or outfeed table so every piece is identical without measuring and marking each one. But what’s the most accurate way to position that stop in the first place?
Most people measure from the outside of a tooth on the saw blade. But old-timers had a better method—an old radial arm saw trick that works just as well on modern miter saws.
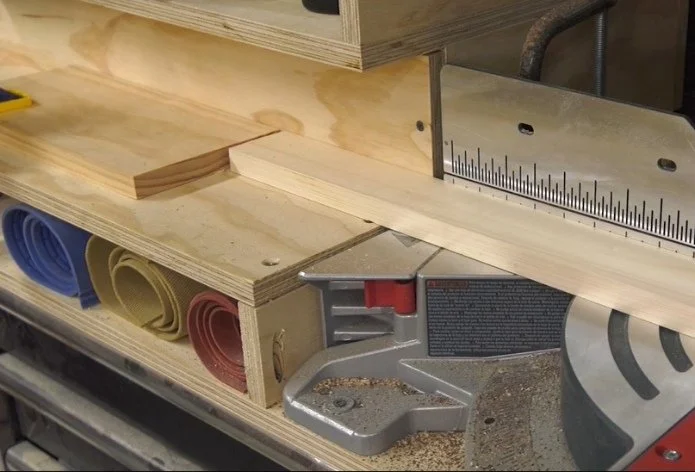
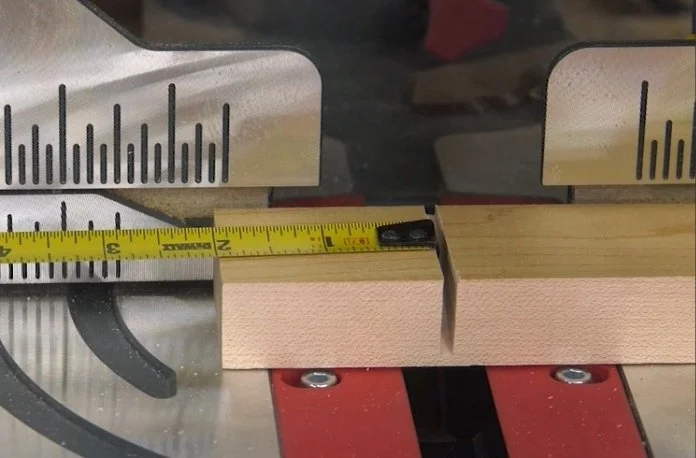
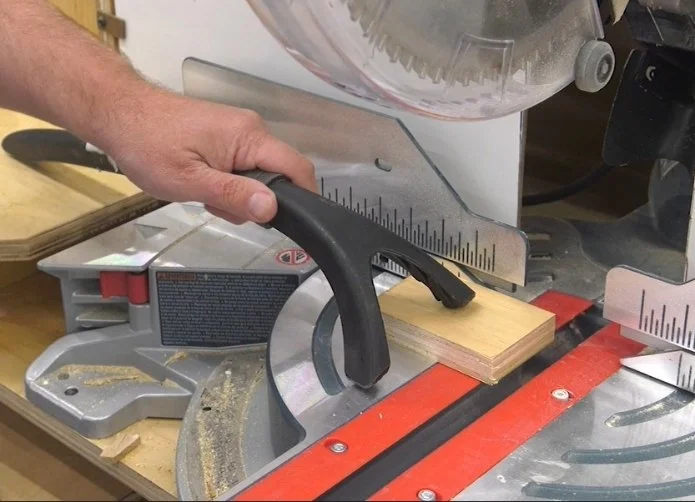
Clamp a scrap piece of wood to the fence and make a shallow cut into the top—just deep enough to leave a kerf, but not all the way through. Now you know exactly where the saw kerf falls. You can hook the end of your tape measure right into that kerf to measure and position your stop.
It’s simple, fast, and extremely accurate.
Tip #2: Use a Sliding Miter Saw the Right Way
This next tip addresses something I see done all the time with sliding miter saws. You probably do it too—and you may not even realize how wrong it is.
A sliding miter saw is not intended to be lowered into the cut and then pulled toward you through the wood. That’s called a climb cut. Because the teeth are rotating down into the wood from above, the blade can try to climb on top of the workpiece and potentially lurch toward your body—and any carelessly placed fingers.
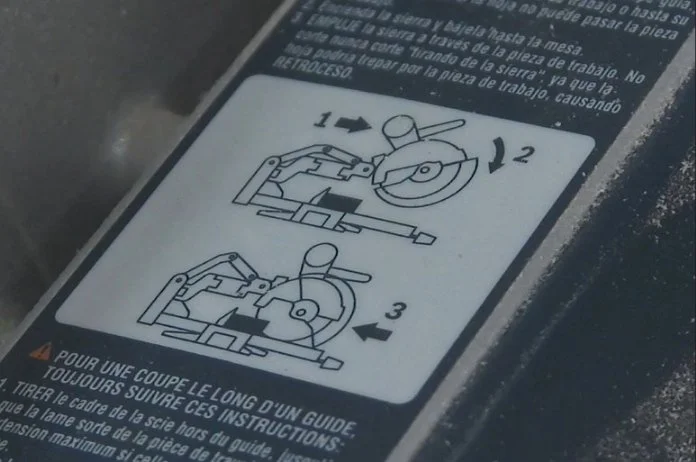
The correct technique is to pull the saw forward above the workpiece, then lower it into the wood and make the cut by pushing the blade away from you. This way, the teeth pull the blade downward into the cut instead of pushing it upward and out.
Common Objections—And Why They Don’t Hold Up
Some people argue that cutting this way may pull the blade down but could also lift the workpiece. My response is simple: with the weight of the workpiece working in your favor, it’s much easier to control a slight upward lifting force than to fight a rising blade combined with a forward-lurching carriage—especially if the blade hits a knot or binds mid-cut.
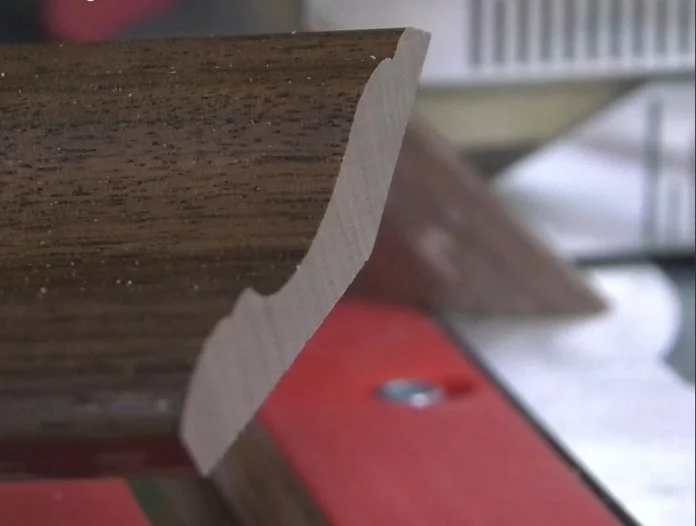
Others point out that the upward cutting motion could cause chip-out on the top surface. That can be an issue when you can’t flip the board, such as with trim or molding. But most trim pieces are narrow enough to be cut with a single downward motion, without sliding the carriage at all—so this technique doesn’t apply there.
For wider boards, the best solution for clean cuts is simply using the right blade. I switched all the saw blades in my shop to Ridge Carbide (discount code SNWJ10) several years ago and never looked back. The difference—especially for crosscuts—is huge.
Tip #3: Avoid Binding When Cutting Crooked Boards
This third tip addresses a dangerous practice I’ve seen online—and one I experienced myself years ago.
Cutting a board that isn’t flat or straight on a miter saw can cause the blade to bind or even kick back violently. This is a situation you definitely want to avoid.
Your best option for boards that aren’t straight or flat is to use a handheld circular saw, allowing one end of the board to hang freely off a bench or sawhorse. As the cutoff falls away, its weight helps keep the kerf open. A jigsaw is an even safer option, though a bit slower.
An Alternative: Kerfing
Another option is kerfing. This technique is often used when cutting thick material where internal stresses can cause binding, even in straight boards. But it also works well for rough boards with slight twists or bows.
The idea is to make a series of shallow passes—each one a bit deeper than the last. If the kerf begins to close during any pass, there isn’t enough blade buried in the wood to cause a violent reaction. The next pass reopens the kerf. This approach can dramatically reduce the risk of dangerous binding.
Tip #4: The Most Important Miter Saw Safety Tip
This last tip is one I’ve shared before, and it may be the single most important miter saw tip you’ll ever hear. Seriously—this one could save your fingers.
One of the most common causes of miter saw injuries happens when cutting small workpieces, especially when the cutoff doesn’t fully span the gap in the fence. If the blade catches, it can pull both the piece and the hand holding it into the blade in the blink of an eye.
If you must cut small pieces on a miter saw, get a holding stick designed to keep small parts firmly against both the fence and the table.
The grippy pads on the bottom, combined with the forked end, make it stable and fast to use. You can use it in either direction—sometimes I use the forked end on the workpiece, sometimes the other end. This tool has already prevented an injury in my shop, and I truly believe it’s one of the most important safety devices ever made for a miter saw.
Conclusion
Miter saws are incredibly capable tools, but small changes in technique can make a huge difference in how accurate—and how safe—they are to use. From setting stops directly from the kerf to cutting the right direction on a slider, avoiding binding in crooked boards, and protecting your hands when cutting small parts, each of these tips addresses real-world problems woodworkers face every day. If even one of these habits sticks, you’ll get better results, work with more confidence, and greatly reduce the risk of injury in your shop.
Happy woodworking!
This post may contain affiliate links. If you make a purchase, we may receive a small commission.
Need some cool tools for your shop? Browse my Amazon Storefront for inspiration.